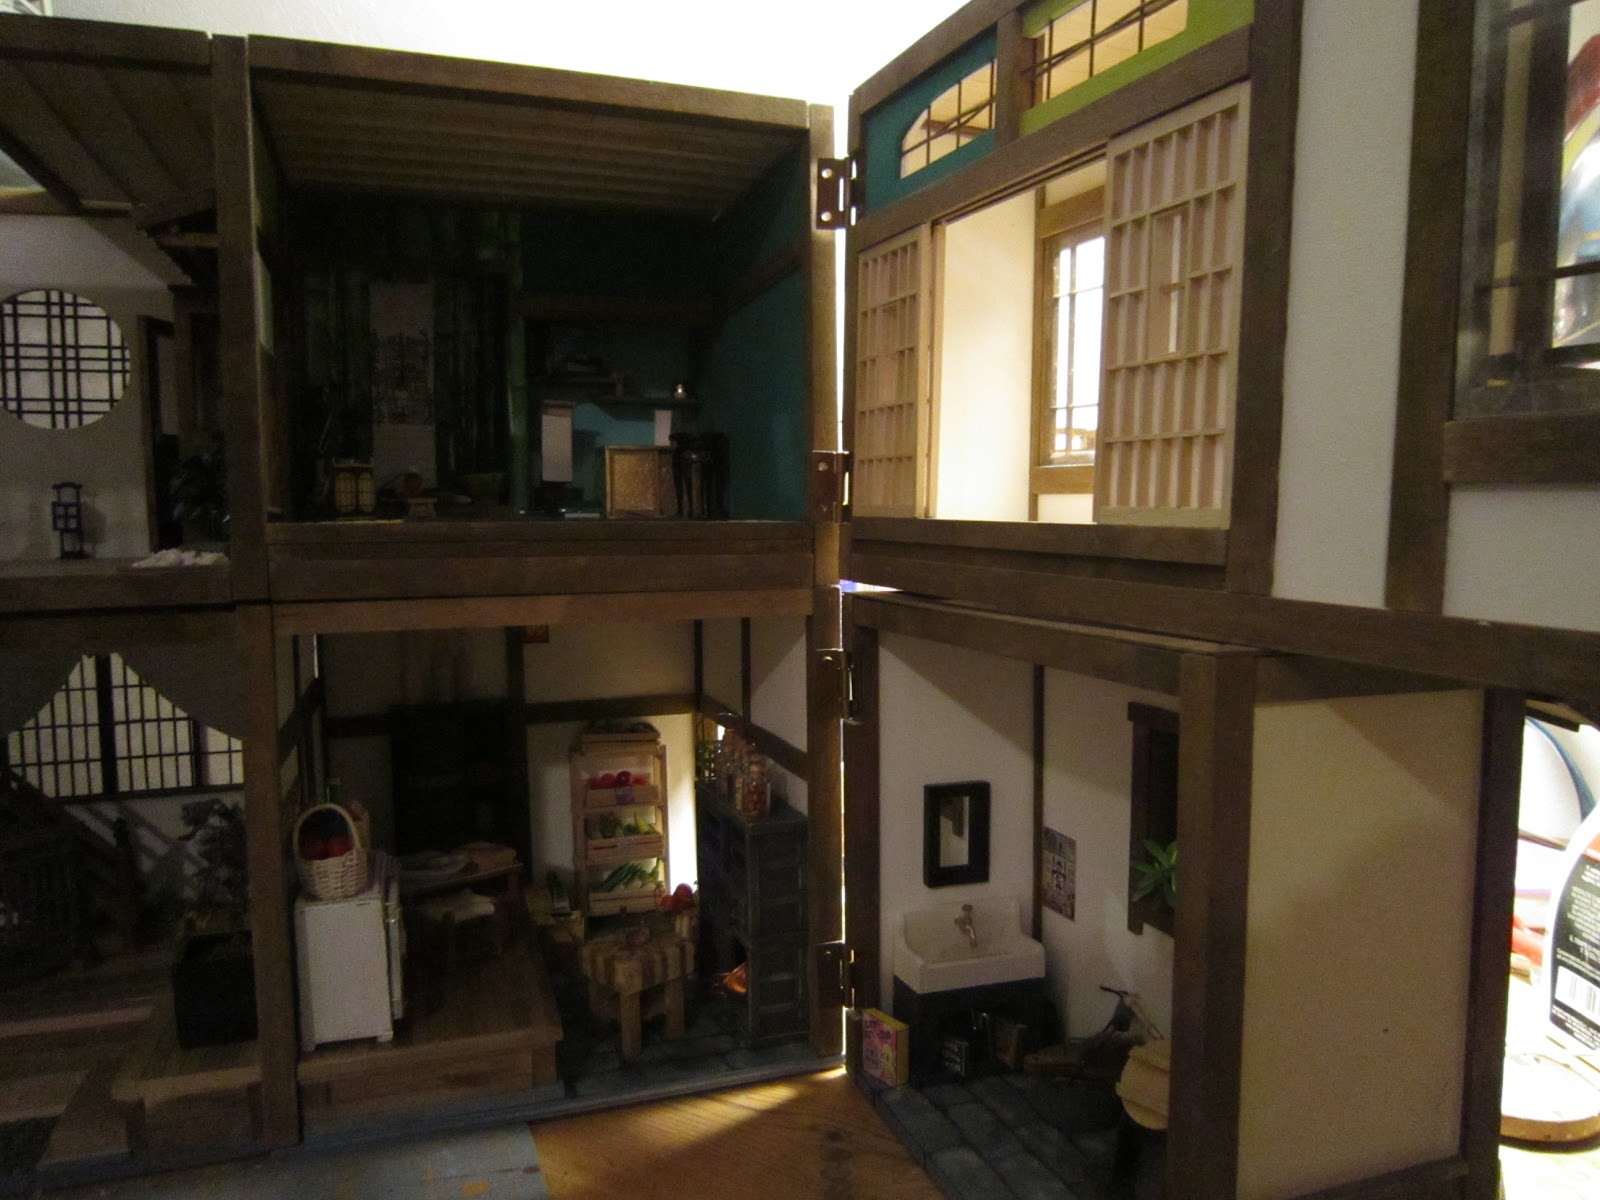
September 8 - 18th 2012
Finally! As much as the attachments like these stress me out, I’ve been looking forward to attaching these so that the front of the house of the first floor is nearly complete.
Having attached the lower “rooms” with the hinges, I was able to experience a few problems that needed solving for this important stage of work. Different from the first floor, the porches are more or less hanging free whereas the bottom floor rooms were sitting on a flat surface which made them easier to attach. Not only, I discovered that the screws they give you for the hinges are very small and strip quite easily. A few extra are included but a solution had to be found for the probable occurrence of ended up with no screws that would screw anymore...so to speak.
I went with drilling holes with my dremel tool then screwing them in. As the screws got a bit tight, I had seen a trick in my travels using a rubber band over the screwdriver which “fills” the stripped area and forces the screw into place. Worked like a charm. In any case, the real solution was just to purchase more screws, which I did.
The hinges were a tight fit so on the left porch I actually had to sand a little to get them to fit in. Once in, I used a pushpin to make a starter hole, then drilled to the right depth (once I went a little too far - but pretty much invisible on the outside) then screw in the tiny screws (with the help of the elastic if they got hard to turn). The porch screws went in pretty quickly I must say. Much more quickly than the downstairs as I needed Gianluca to give me a hand to give me leverage. Now the house was heavy enough to be immobile.
 |
| Hinges in the package. |
 |
| Hinge and drill bit. |
 |
| Pushpin as a hole starter |
 |
| First set of hinges in. |
The tough bit was the attaching the porches to the first floor rooms. First I emptied fragile items out of the rooms. Then I opened the lower room so I could use the ceiling of those rooms as a base while I marked where the hinges had to go in the top floor above. That went pretty well and I figured I could line up the right hand beams and as long as these two beams lined up perfectly, the whole porch would swing closed and line up with the rest of the house. WRONG. The porch beams and the house beams are all a bit off so by the time I swung the porch closed, it was not matching up by nearly an inch. Ugly. So I had to figure out a way to fix it as much as I could.
 |
| Using the lower floor as a gauge |
 |
| Clearly off but couldn't match it up otherwise the doors don't meet up in the middle. |
Only solution was to unattach the top hinge, then using double sided tape, I put a piece on the first floor beam, then one on the hinge, then closed the porch. The hinge stuck over to the beam and I could see how far off I had to reattach the hinge. It was crooked looking on the beam but it would still make the porch close somewhat even. Now I’m only off by about 1/4 inch. I attached the other porch using the same method of the double sided sticky tape and it worked a charm. This porch isn’t off at all.
Closing the two porches together and clearly they butt up against each other a bit. Not really a big deal as I will sand down each lower side beam to be sure they would close. I am now trying to think how I can attach some little magnets or something so the porches will stay closed. I have some leftover magnets which I used in making a curtain once but they may be too thick. Well, I can wait till I get more built then decide.
 |
| Porches attached even if the right one is still a bit off. |
At this point, I printed off a few pics to put into the bamboo bedroom and the porches. I choose a geisha print for the music room porch (staying in a colorful theme), and a bamboo painting for over the bed as well as a bamboo kind of painting scroll for inside the bamboo room porch. The colors seem well suited to the not-so-comfy-chair and table. I may add the little lantern or some kind of light fixture in the porches - not enabled for actual lighting tho.
 |
| Added a pot hanger in the kitchen. |
 |
| Addition of the bamboo picture over the bed. |
 |
| Bamboo painting on the porch. |
 |
| Another colorful geisha for the music room. |
I then tried to tackle the issue with the back of the house. Clearly this wasn’t meant to be looked at so I think I can get away with some of the additions I want to make here. First I had to unattach all the cross beam wooden decorations because I am adding two metal plates to permanently fix the floors together. I’m doing this mostly because I have a fear that as I continue with the build, the stairs in the house are going to get ruined or unattach simply when I move the entire house. This is due to the fact that the stairs are attached between floors and with floating landings. To insure stability if (when) I have to actually move this house, I think these little plates will make the difference.
 |
| After removing the beams, attaching the left hand metal support |
Drilling left side was no big deal as the wooden sides allowed me to make holes directly into the walls. The right side was a bigger problem. The spa was since the beginning severely warped and as a consequence, the back wall jutted out over a quarter of an inch. I had to sand this down so that the metal brace would lay somewhat flat against the house wall. The upper screw went in fine but the lower had to be drilled and screwed in at an angle. Luckily it’s not visible on the inside.
 |
| Right hand side was more of a challenge. But got it in. |
The last part was to reattach the wooden beam decorations cutting and sanding to make them fit in between the new metal supports. I eventually am going to cover those with some kind of brick patterned paper to simulate exposed walls. But It’s not as bad looking as I thought it would be.
 |
| Replacing the wooden embellishments. |
 |
| Sawing off the excess. |
 |
| Refitted. Now just need to add the last floor and hide the wiring. :-) |
Onwards and upwards (literally). Next adding the porch awnings and the stairs to the 2nd floor !