October 23rd - 28th 2013
Real life has invaded my mini-ing time. There is always something to do. We have an enormous pine tree in our front yard and when finally we had a Saturday without rain, the gardner came to prune it. It took around 4 hours total but the work was done by Saturday afternoon. There was lots of clean up. In the meantime, I had a bookcase whose wheels broke so I had to make an Ikea wheel pick up and empty a book case (!!), re-install the wheels and reload the bookcase. It had to be done as the bookcase was blocking my work bench where I am building the house. What a pain. And also, my beloved Red Sox are in the World Series so I was staying up late to see the games and too tired to actually do any mini-ing. So, by the time I had some energy, 10 days had gone by. But I am back ! ;-)
First thing I had to do was to paint all the wooden embellishments as usual. Then I worked on painting the sliding doors. There are extra inserts in the doors that needed some sanding attention beforehand. After that, I fixed some of the wooden decorations of the walls so that the floor area was prepped for installation. I painted the wood frames and internal areas and then decided it was time to attach the flooring.
 |
| Cleaning the internal grill areas to the sliding doors. |
 |
| Adding the wall beams. |
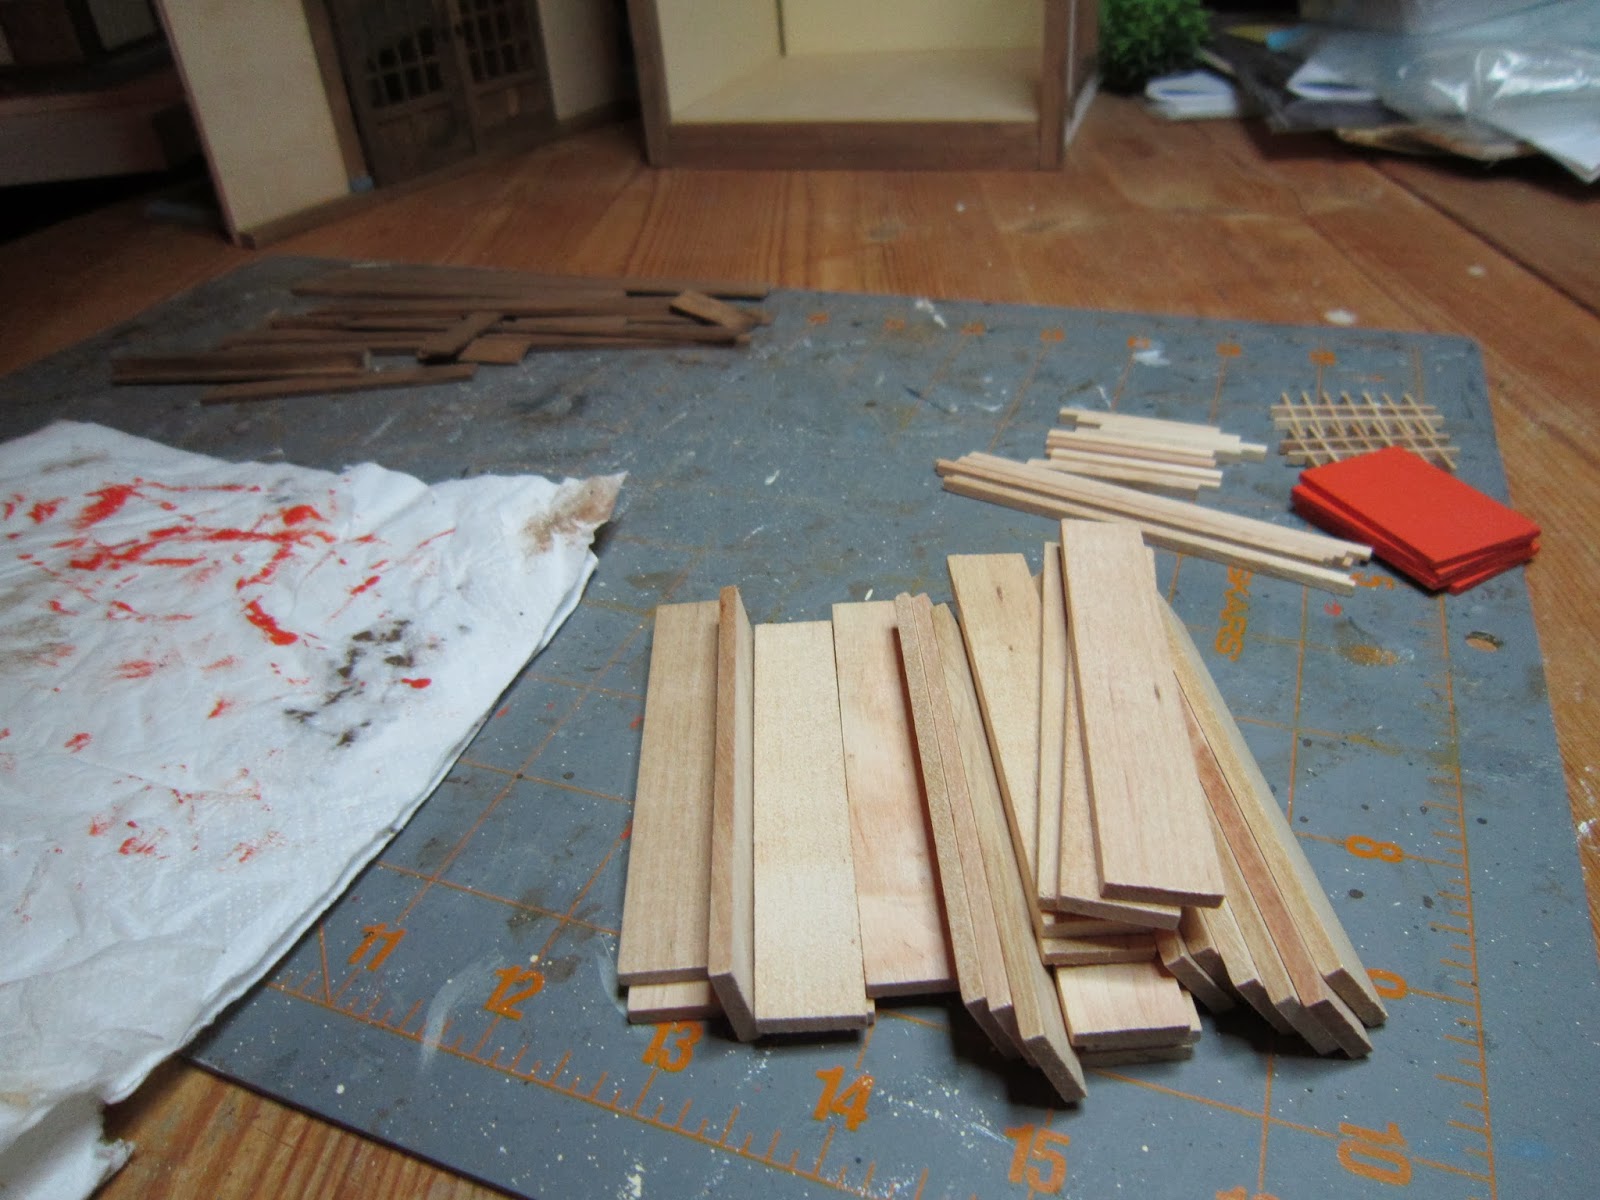
The kit came with a series of planks. I had thought about painting them all black beforehand but rejected that idea when I realized that the best bet was to create the floor, paint it in a few coats of black, sanding it, varnish it, sand it, etc. but without actually installing the floor in the room. I stumbled upon someone’s suggestion to attach the wooden flooring to a cardboard backing which then can be installed into the room. So, after measuring and cutting, that’s what I did.
 |
| Flooring planks. |
 |
| Measured piece of cardboard backing. |
Some of the planks were not a perfect fit. So I did have to sand some to size. Once that was done, I painted the floor black, sanded and then varnished it. Obviously over a day since the varnish needs a good day to dry between coats. I even managed to touch it and leave a print so had to varnish it again! That meant more drying time before waxing and installing. What a pain. But in the meantime, I did manage to create the doors and varnish those as well.
 |
| Selecting the right side and position of the boards. |
 |
| Checking the fitting for the last two. |
 |
| Meeasuring and slowly sanding down to size. |
 |
| Final fit before painting and varnishing |
 |
| Sanding the floor and using the sanded dust to fill in the small gaps. |
 |
| Sanded and ready for painting. |
 |
| Coats of pain and varnish. |
 |
| Assembling the doors and sanding the grill to fit. |
 |
| Fitted grill. Door before varnishing. |
The door grill in the middle was supposed to be covered with some kind of rice paper, but honestly, I like the open space where you can actually peek into the room from the outside. The way this room is decorated it doesn’t really convince me that it is also a bedroom (like the other rooms). When I did do the research, I only found one pic of folded futons in the same room with a fire pit. So, I am going to have to work out how to resolve this. Maybe using the porch as the actual sleeping area?
Once the door jambs were dry enough, I installed the sliding doors and all the wooden decorations around the frames. Course they all needed sanding for fitting but not so much to be difficult. With the doors in, I really must say I like the strong contrast between the ochre and the black. I couldn’t wait till the floor was actually dry enough to install! That took another 24 hours.
 |
| Installed sliding doors and wood decorations. |
 |
| Inside view of the room with decorations. |
 |
| Floor varnished and ready for waxing. |
 |
| Trimming the cardboard edge, waxing the floor. |
 |
| Finished floor and doors. |
Finally I could wax the floor, trim off the extra edge and and install the finished floor. But of course, waxing turned out to be a hassle. The wax is fine but the floor being black shows every streak of wax on it. May have been that the varnish wasn’t 100% dry but I did leave it on extra time. Whatever. I installed the floor and the final front piece. Ready for the next chapter which may have to wait anyway as I’m a little busy with real life again. Just wish I could devote my time to this build all the time. Welcome to the real world.
 |
| Floor inspiration. |