Showing posts with label wiring. Show all posts

Tuesday, November 11, 2014

Intermediate Work: The Back of the House, Lighting Part II

 November 9th - 11th 2014

So here’s the deal.  When I started the inn, I had an idea that it would be for young people, a bit bohemian.  Not five star class if you get my drift.  I even had an original idea to make it a Japanese bordello...course, as I got into it I could see that it really could be something nicer instead of cheap.  Still, the ryokan, from the start, is a little old and not very well kept.  I chose not to varnish most of the embellishments on the walls and to keep areas unfinished a bit.  My choice was two fold: first I knew I was going to run into problems in the construction (both for my inexpertise and the fact that many of the pieces were badly warped to start with) so I knew the rooms and whole house would have gaps or fit together imprecisely and second, it was my first dollhouse.  There was no way I was going to do justice to a beautiful five star ryokan.  So, my inn is for everyone.  The young the old the hippie....all are welcome! Which brings me to the back of the house.

The kit never was really set up to actually show the back of the house but I didn’t like that idea.  I wanted to do something there too.  Like a behind the scenes stuff going on in the alleyway kind of area.  So, I purchased some stone work printed paper to use to attach or glue on the external walls around the house - exposed brick as it were.  Knowing also that I had no real way to effectively hide the electrical wires, I figured I’d use this paper to create where the ryokan is pretty much falling apart - at least in the back.  From the front, it looks fine.  But we know that the ryokan is in dire need of repair.  I used the double sided tape and attached paper over the wiring.  All of this can be easily ripped out when the LEDs finally give out and need replacing (of which I have NO idea how I may mange that!) and I also cut some of the wooden beam decorations to show they had also split and fallen away.  I will add broken bits of beam all along the bottom of the back sidewalk.  Like they are holding them till they get a chance to renovate the exterior. 
Preprinted stone wall paper.

Cutting to size to hide the wiring.
Cutting more pieces to size.
Once I cut to size and shape, the back walls of the house were done.  I added the last two mini awnings that went over the second and first floor center windows.  And I added a few more random exposed bricks on the back.  Fun. 
Finished back with broken beams and exposed brick.
I also added a few more posters and welcome signs to the inn.  One that’s most important was the “no tattoo’s allowed” sign outside the onsen spa.  I guess in Japan tattoos are frowned upon (due to them often being a mark of mafia affiliation) so I added that - plus a how to behave in the onsen sign on the inside wall of the changing room.  Now we all know how to behave!!!
No tattoos allowed!!
Changing room now carries the "how to's" of the onsen.
Outside welcome (blessing) sign.
Next was making the garbage receptacle to hide the batteries.  I had seen a really nice version in one of the pages that came with the kit (same place I got the inspiration for the rackets and the umbrella stand and even the kimono stand!) and I just liked the overall look of it.  So again I used scraps to construct it.
Inspiration for the trash bin and place to hide the batteries.
The outside of the scale one is made of some kind of concrete.  So, I cut some wood to size and glued it together.  I then added a few decorative pieces to the sides and front to simulate a heavier concrete container.  Next up was covering it in a simulated concrete surface.  I watered down some glue, spread it lightly over the surfaces I wanted and then sprinkled some very fine sand onto it.  That made the surface rough.  I know that they actually sell paints which have sand particles premixed but right now I really can’t afford to be spending money on stuff I’m only going to use this once now.  Then I had to let it dry before applying the grey paint.  I mixed up some dark grey and white and painted the sandy surface with some of it.  I must say, it does simulate concrete fairly well.  I then painted the top and the embellishment pieces a terra cotta brown (I used some leftover shingle sheets from the kit to construct the top and the front) and the trash bin was done!
The design and cut scrap pieces

Testing the fit.
Batteries fit in fine.
Adding some light decorative pieces.
Painting the concrete.
Finished dust bin.
I added some grass the the edges where the wires run while I was waiting for paint to dry so that it looked acceptable in the back.  Eventually I will add some rubbish bags around the trash bin. 

And as a final touch, Bansksy struck!! While I was waiting for paint to dry overnight, the next morning I awoke to find that Bansky had visited behind the ryokan leaving his mark in the homicidal panda.  Little bastard! Now someone will want to cut away a piece of the back wall and sell it at Sotheby’s!
Anyway... wiring and back of the house - DONE! Back to tiling!

Thursday, December 19, 2013

Chapter 73 - The Overhang to the Left Side Room, the Firepit (Irori)


December 14th - 19th 2013

As explained, I had skipped this chapter as I felt the firepit required my attention and little ingenuity to pull off.  But I finally got around to it.

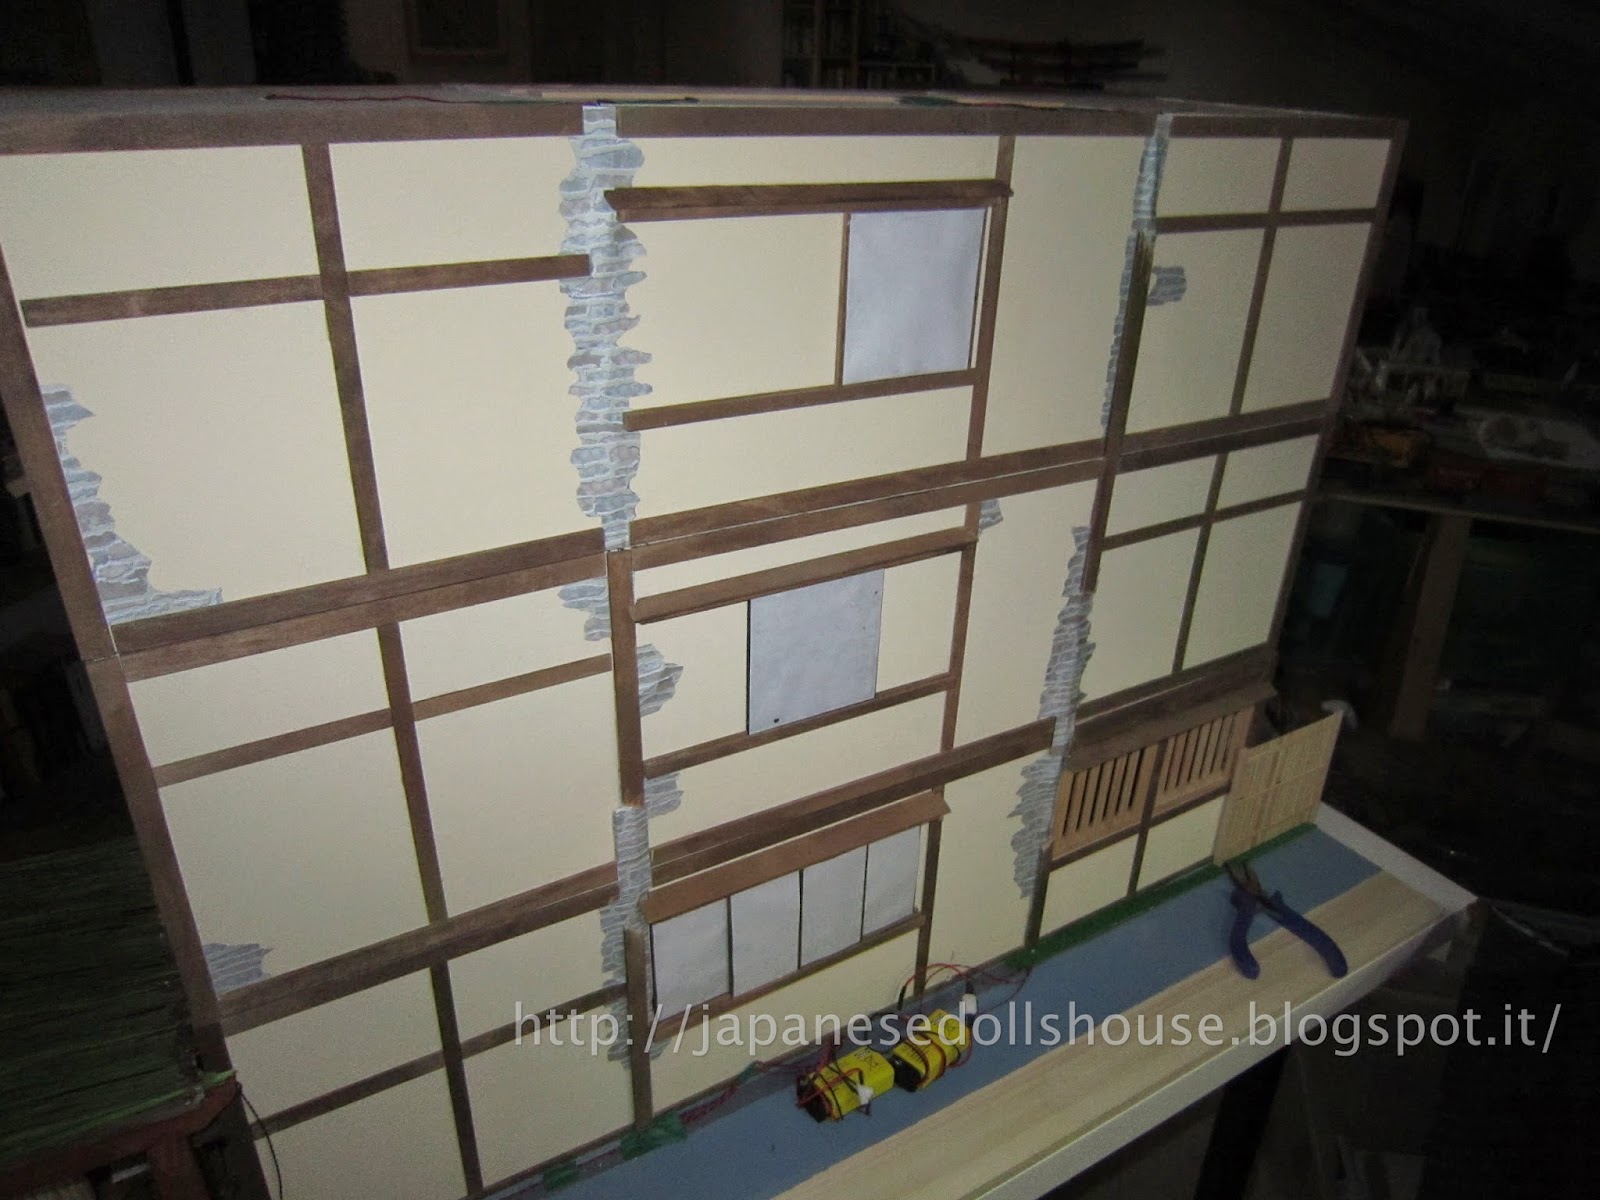
First was to build the overhang.  Pretty straightforward and quick.  I had already done three of them so there was no big change in building this one.  The time consuming part is measuring out the spacing between the wooden slats.  Quick paint job, varnish and white tipping the under beam supports.  Then attached over the room doors.  Done.
Spacing the top part of the overhang.
The bottom part of the overhang.

Finished overhang.
Problem came up tho when I had to attach the two decorative beam fillers, one over the doors and one in the corner.  The one over the door didn’t fit for the same reason as the room’s internal ones - I had made a mistake in the overlap of the vertical slats.  Some sanding then a forced glue with clamps did the trick (I hope).  We’ll know better when the time comes to fit the ceiling to the landing area on.  I will re-enforce it then.  The corner piece also was a tight fit but that was a little easier as it required only some sanding.

Forcing the overhead beam filler.
On to the firepit - or the irori as it’s called.  (I also discovered the name of the hanging hook for the irori - a jizai-kagi)  The sunken firepit or hearth was a gathering place and source of heating not just for cooking but also for the room.  Usually the rooms were much larger but today there are even many restaurants that use the irori as a focal point for cooking.  There is more info on the kikkoman site which was helpful and informative.

My first task was to figure out a way to squish the battery carrier and the lights into the small hearth frame (appx 28mm square).  I fooled around with the foam core piece from the kit as the covering area and then had to cut the wires down to an acceptable length.  There was no soldering involved here but I did use my soldering iron to strip the wires. Super fast! I then glued the three fire bulbs onto the foam core support and left them overnite.  Next day, I trimmed down the wires some more and glued the actual battery holder into the foam core (and left that too for a while).  I then painted the bottom part of the irori and made some more notches to fit the battery in a little better.  Then sealed up the connections and glued the wires and switch in place. 

Firepit pieces and the FIRE LED kit from Evan Designs.
Gluing in the LEDs onto the foam core.
Gluing the switch and the wires into place.

Once the glue was set, I squished the battery into place and attached the back panel. I didn’t glue it in because I knew I may have to substitute the battery one day so all I will have to do is push from the top and the whole thing will pop out.


Adding some "ash" and charcoal pieces.

Celophane in place and adding more color to the coals.
Next step was coloring the switch, the top section and painting the inside of the pit a grey color.  I also covered the lights with a cellophane film included with the kit. It helps to tone down the flicker and make it a little less intense and more uniform.  Once that was glued down, I could add the sand (ashes) and charcoal bits, let those dry and then make some touch ups using some dark grey, grey and white. 


The last phase was the top section edge.  I glued that on and clamped it down.  And the trick was done.
Finished irori firepit.

Making the utensils for the fire pit.


Only “problem” was that the irori wouldn’t actually accommodate the hanging pot I had already made.  The fire coals were higher up than if there were no battery underneath.  But I am more than happy making the sacrifice.  I added some small utensils for cleaning the pit too.  Once I complete a few more things, we can start adding some details to this room too.


Here is a video of the pit in action.  You can even hear Christmas music in the background! Yeah!

Thursday, November 21, 2013

Intermediate Work: Lighting the Front Portico, A Wall Clock

Hope this is the Chinese symbol for Good Luck.
October 22nd - November 21st 2013

Well, we should be careful what we wish for.
I was laid off from work a few days after I wrote the previous posting.  What was annoying is that they knew who was going to be laid off long before then but instead of giving those people a head’s up, they told me at the last minute.  I had already purchased plane tickets to visit my family in the USA (for only a week thinking I had to be back to work) and now not having a salary makes that purchase a little out of our budget.  Well, guess we just need to learn to make the best of bad situations.

I finished today the project I had started before my mini vacation and that was lighting the outside porch area.  I had done some quick research on the type of simple outside lamps to make.  I installed the wiring to the back (which is not normally displayed anyway) drilling some holes in the cross beams to accommodate the wires and then covering the wires with some straws I had found from a cheese packet I had bought.  These straws are much thinner than most that’s why I liked them.  Anyway, I also used an old breath mint holder to keep the battery hidden somewhat.  I don’t think the back is too much of an eyesore. 
The lanterns were made with some pieces of leftover wood and paper.  I fixed the lights in front using some of wax adhesive and glue. Done.
Purchased LEDs and switch.  A recycled mint case to hold the battery.

First I had to paint the inside white. I have no idea why I didn't do it originally.

Painted the case white and the battery fits in perfectly.

Drilled holes from the other side....

...and holes to pass thru the cross beam.  Then connected the lights.
Some straws to hid the wires somewhat. Painted them white as well.
Cut some balsa wood for the lamp bases.
Soaked some wood strips to cover the balsa wood's irregularity and bent into place.

Painted base and some leftover wooden pieces applied to paper to make the lamps
Just used some wax adhesive to fix the LEDs in place.
Finished front portico.
The “wall clock” was actually an old swatch watch which I had purchased years ago so the battery has long since been dead.  The watch was pretty beaten up but I liked the inside face as it had a chinese character on it (I suppose something to do with the year of the Pig since that is when I bought it) and I liked the gold backing.  So, I had to hammer the watch into pieces to get it out.  I did get cut in the demolition but did manage to glue the hands back onto the face (using a button to support the back).  I liked it in the front foyer to welcome guests. 

Destroyed Swatch Watch. Manged to save the hands too.

Using a button, installed watch pieces so I could attach the hands to the front face.

Front face of the watch, now clock.

Clock in the front foyer.
Now that I’m not working, I suppose I can dedicate myself to more on the house build.  But I’m finding it hard to concentrate.  Oh well, I guess I’m lucky that I do have a hobby.