Friday, March 30, 2012

Chapter 37 - Floor and Back Wall of Right Hand Room First Floor, Ceiling of Left Hand Room, Bench

March 24 - 30th 2012

About a month ago, I joined the Half-Scale Yahoo Group for people who are interested in half-scale miniature as opposed to the 1/12 scale which is more common.  I had mentioned that I am working on a Japanese inspired house and one member was nice enough to send me a file from a scan of fabric which were little kimonos.  All I had to do was reduce it to scale and transfer it to some fabric to make little kimonos for my house (and in particular, the Spa Changing room).  It worked out great.  You can find ink jet transfer sheets so all you have to do is print onto the transfer and then iron onto some cotton fabric.  Deal done and the final effect is very satisfying.  With the bench and the little details, the spa changing room is done (altho I’m still planning to add some things under the sink as well as a little bar or soap and maybe a mirror above the sink).
Iron on transfer.
Kimonos ready for cutting and folding


View from the side of the chaning room
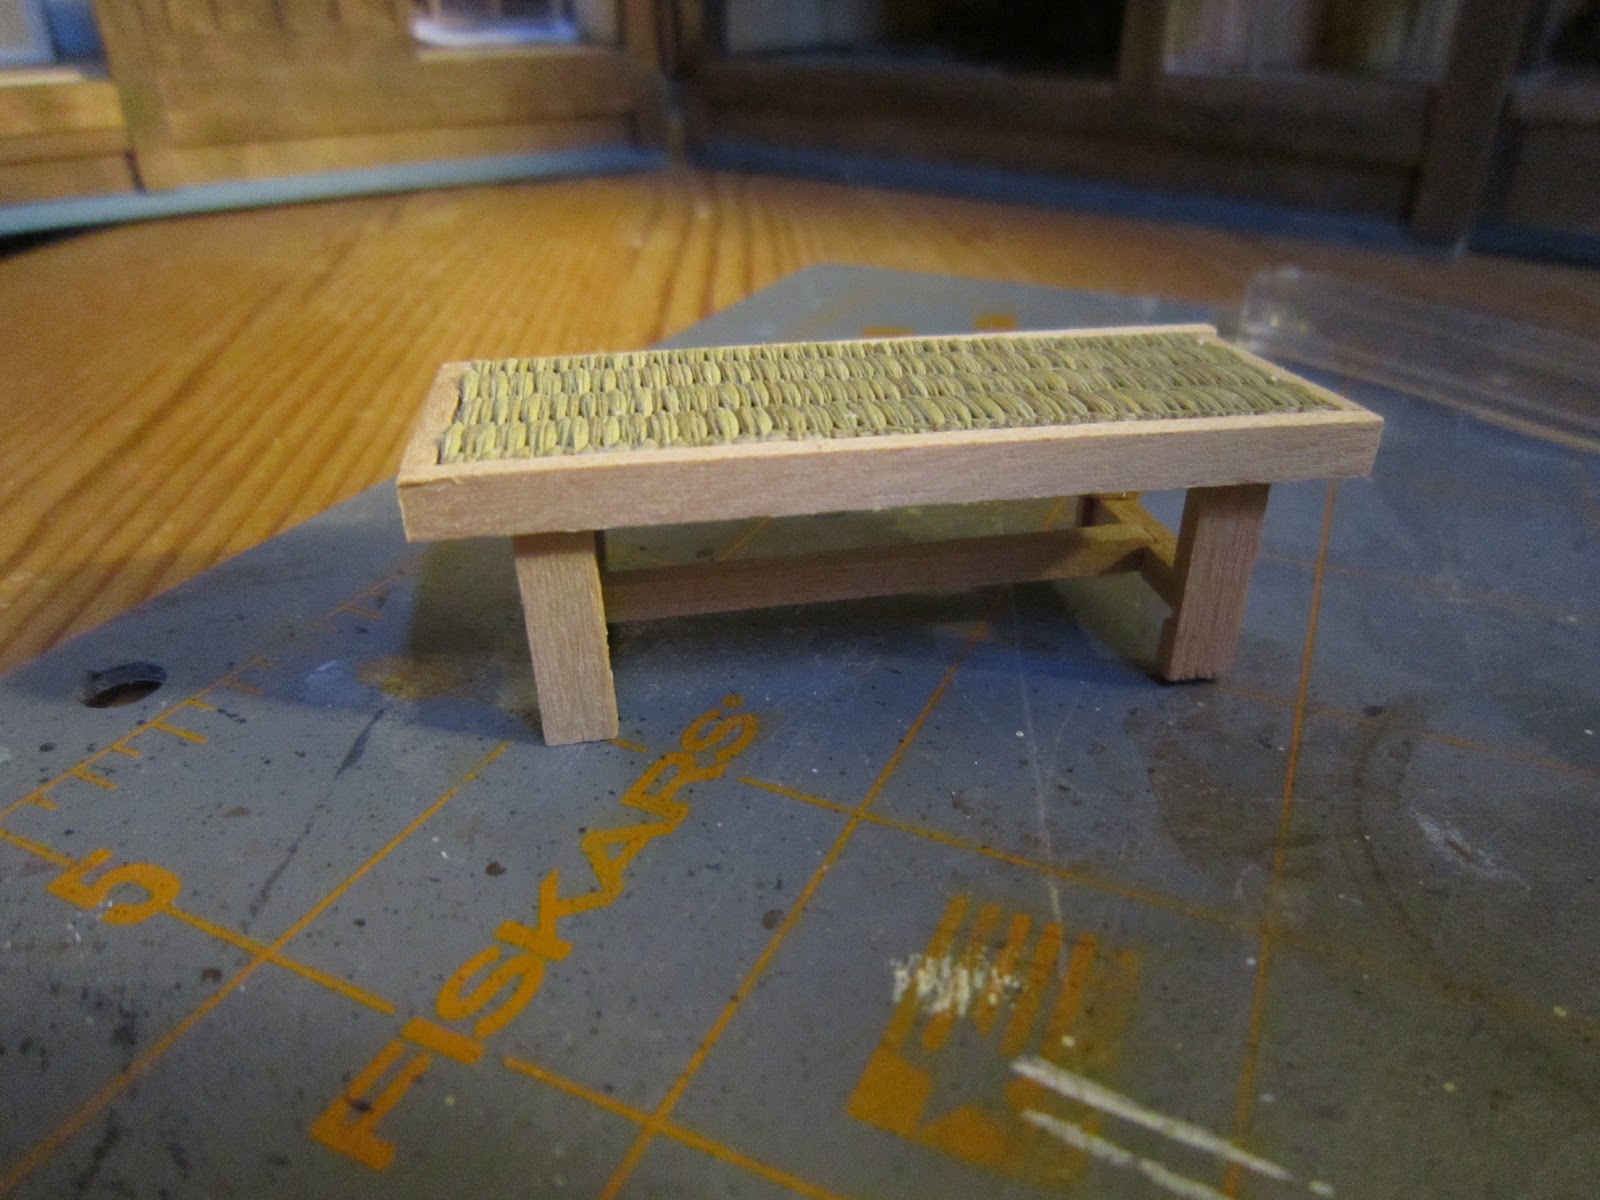
Little bench for the changing room


Towels, kimonos for men and women, and geta shoes.

The ceiling of the first floor room was easy yet fitting it into slightly warped walls was a challenge.  At least it showed me that I had installed a wooden beam piece in the kitchen ceiling wrong so I had to take that apart and reglue it.  Much better looking now.  I drilled the necessary holes in the ceiling and the back wall to allow for the lighting once it gets installed. 

Will be gone for a few days on a trip to Hamburg to see the biggest miniature train set in the world (or so they claim...) Pics will follow obviously.

Thursday, March 22, 2012

Chapter 36 - Upper Part of Stairway Landing, Ground Level Stairs

March 20 - 22nd 2012

The first thing in this chapter was to sand down pieces which had to fit into the round bannister posts.  They provided you with an auxiliary tool and sanding tool for the trick but still, it was a lot of work and I ended up getting a blister on one finger.  Pain in the ass!  Worse yet, when it came time to actually fit the pieces in, it really wasn’t a perfect fit.
The sanding template for making rounded pieces.
Stair case to 1st floor landing (foreground) and vestibule stairs

Also because one piece did not have the designated hole where a bannister pole was supposed to go.  So I ended up having to put the staircase in, leave it overnite to dry proppoed up, then glue the bannister by reverse fitting.  Passable but not they way I would have preferred to do it.

The secondary stairway goes from the landing to the first floor.  It doesn’t really fit right now but I checked and I’ll just have to sand the back area to fit it.  Since the next chapters have me building the left room of the first floor, then attaching the three sections together, I have more than enough time to wait and try and fit that part of the staircase in.

Technically tho, I have actually finished the ground floor! With the addition of the staircase and the tatami area in the vestibule (including the tiny little wainscotting pieces under the window) the ground floor is complete.  I am not going to put anything in the house till the building is actually constructed for fear of breaking something.  But also today I ordered the lighting (yeah!) so that’ll be installed before I glue the first floor over the ground floor anyway.  So far so good....

Spa changing room, Spa (in the dark), vestibule and kitchen with extension complete.

Wednesday, March 21, 2012

Queen Mary's Dolls' House

Ok, just a little break to send you to see the most amazing dolls' house ever built.

My sister and I had the chance to actually view the house at Windsor Castle (she will be kind enough to give us the year).  It was a last minute thing and I am so glad to have had the opportunity to have seen the house.  The link above takes you to an interactive tour of the house.

An excerpt taken from the site :

"Queen Mary’s Dolls’ House is the largest, most beautiful, and most famous dolls’ house in the world. Built for Queen Mary, consort of King George V, by the leading British architect Sir Edwin Lutyens between 1921 and 1924, it includes contributions from over 1,500 of the finest artists, craftsmen and manufacturers of the early 20th century. From life below stairs to the high-society setting of the saloon and dining room, a library bursting with original works by the top literary names of the day, a fully stocked wine cellar and a garden created by Gertrude Jekyll, no detail was forgotten – the Queen’s Dolls’ House even includes electricity, running hot and cold water and working lifts. Each room, is fully furnished in every way, and waiting to be explored."
This is the entrance foyer.  The paintings are actually made by the artists.
It has been restored in the 1970's I believe since the plumbing didn't work so well.  The fact that it has a functioning lift and running water is amazing as is the house linens which were all monogramed by hand for the queen and king.  The house was built to show a typical modern household which had the fortune to afford all the most up to date appliances of the "modern" age.  Even the garage and the cars were the best a person could afford.  It even had a strong room which contained the royal jewels!  I suspect the queen's dollshouse was more furnished than most people's houses at the time.  It is said that the value of the house and its contents is £275,000 - but I'd bet it's more than that today.
The library.  Each book is readable and in most cases actually penned by the true author.
I actually purchased an out of print book about the house so I could study it and have been searching for one of the keepsakes which were made at the time to commemorate the completion of the house.  Perhaps this house reminded me of how much I love the miniature world.  And this certainly is the prime example of miniature reproduction.


If you should ever get the opportunity to visit the UK, a stop to see the house is a must!

Tuesday, March 20, 2012

Chapter 35 - Stairs From Ground Level, Shōji to the Spa Changing room

March 19 - 20th 2012

I decided to switch the shōji from the kitchen over to the Spa changing room just because it made more sense to have that one covered with the rice paper and the one in the kitchen left with a transparent window.  So that’s what I did.  Only even this shōji required more sanding to fit. 
At least now you can see my plant in the window.

The stairs went together without any hitches really but will see once we actually have to fit them into the house.  That’s the next chapter and I am looking forward to seeing the stairs finally in the house.
Close to a third of the way thru.....

I finished the first of three full boxes of materials for the house.  It doesn’t mean I’m a third of the way thru but the fact that I’ve managed to empty one box in the short time I’ve been working on the house is pretty nice.  I have read that some people have taken up to 3 years to make the build.  I suppose you never actually “finish” a dollshouse but I hope that it’s not going to take me three years just to get the damn thing built. 

Sunday, March 18, 2012

Chapter 34 - Back Wall to First Floor Landing, The TV

March 16 - 18th 2012

I was looking forward to doing this chapter because there was the TV in it.  The inclusion of a television pretty much helped me date the house.  I figure by the looks of the TV, it must have been end of the 50’s beginning 60’s.  So of course I went looking for tv shows which would look good on the mini screen. 

I found a few cartoons but of all my fav was of course Godzilla.  I doubt he was probably on TV back then in Japan (they probably shot films more than TV shows) but I couldn’t resist including him in the house. 
GODZILLA!

The construction of the TV was a pain.  The pieces were much too large and needed heavy sanding which just distorts the final look.  But given that the TV is sort of inside a cabinet, it’s passable.

The back wall was straight forward and again shows off the warping in the landing floor.  But hopefully glue will rectify any nasty and obvious bowing.


I also managed to find a site which sells LED lights! I am excited because up till now I had only done some lighting for Gianluca’s train set and that required us running thru the DC transformer.  Instead, this american site actually sells LEDs which can be hooked up to a small 9 volt battery! Very cool!  I am going to order some as it seems that even with the postage to Italy, they still cost less than what Italian miniature companies are going to hit you with. 

Thursday, March 15, 2012

Chapter 33 - First Floor Landing, Spa Window, Kutsunugi-ishi (Shoe removing Stone)

March 13 - 15th 2012

The Shoe Stone is quite strange.  It’s a little stone platform set into a small area that is then covered with sand.  I have never actually seen one so I have no idea what the true usage is.  It seems to be more used at the actual entrance of a house (not at an inside door entrance) and traditionally is surrounded by larger stones, not sand.  Technically, this is where you’d remove your shoes.  But I figured anyone entering the house would have already taken off their shoes downstairs in the vestibule. 

The Spa window was quick work except that it came out a bit darker than the surrounding woodwork.  I’ll have to sand it down a bit when I get around to making the shōji.  The inside sills were difficult to glue in because of the doors - even if my hands are quite small. 

Again here I had to make the “hardwood” flooring for the landing.  I do not enjoy this very much as I have to measure out each “board” 5mm from the last.  Still, the final effect is very convincing.  This flooring came out a little darker but I figure it’s ok considering that it would technically be less traveled.
You can see the small Kusunugi-ishi stone outside the door.

I also played around with one of the printables.  I found a bunch of little lanterns and printed and glued one.  Pretty cute actually.  I’m hoping I can put a small LED light inside these around the house.
Little printable lantern.

Monday, March 12, 2012

Chapter 32 - Ground Floor Awnings, Overhang to Spa Window, Kitchen Shōji

March 9 - 12th 2012

The overhang to the Spa back windows fit without extra sanding or other real work so I managed to make quick work of that installation.  I’m still not quite sure what I’m going to do with the back of the house.  I don’t really think it’s been projected to be seen at 360° so I’m probably just going to figure out a way to to build up tall garden plants that can be seen thru the windows.  I’m actually thinking about pulling out the white rice paper windows in the vestibule area so you can see thru to the back of the garden.  But that’ll be later when I finally have a place to mount the house on.

The ground floor awnings were time consuming since every little shingle had to be made by hand.  But the final rustic effect is really quite nice! I decided not to trim the front edge since I like that country rustic look.  I think the little white accents make the difference too.  Lots of extra shingles so will save them for other applications.  The Spa changing room roof was a tough fit because it was so bowed but gluing and leaving it overnite seems to have fixed that problem.
Million little shingles....


The shōji for the kitchen - basically a sort of additional white shade - I really didn’t like.  I would have preferred a clear window and I am still undecided.  I tried to print a little design on an acetate sheet but it wasn’t for inkjet - but did end up being transferable to the white rice paper.  So, for now, I’ve added that in. 
Shoji with little plant in the kitchen window.


I found a site which sells actual books in miniature! It’s pretty cool.  Not all are small scale and the one I was interested in, The Titanic, was a larger scale (1:12) but I figure I can use it as a table book and put it in the vestibule on the desk or upstairs in one of the rooms.  I was interested since they had done this tiny edition for the 100th anniversary of the sinking.  I figured for my house, could be like the 50th year anniversary :-)
These books are amazing! They are fully printed inside and the Titanic one even has a fold out of the ship.  My work colleague bought two - one of Van Gogh and the other of Monet’s works.  They are really nice and have me thinking on purchasing more later on.  Or if they perhaps make Japanese history or art books too....will have to check.
100th Anniversary Titanic Book