Thursday, April 4, 2013

Chapter 57 - The First Floor Stairs (upper section and railings)


March 29th - April 4th 2013

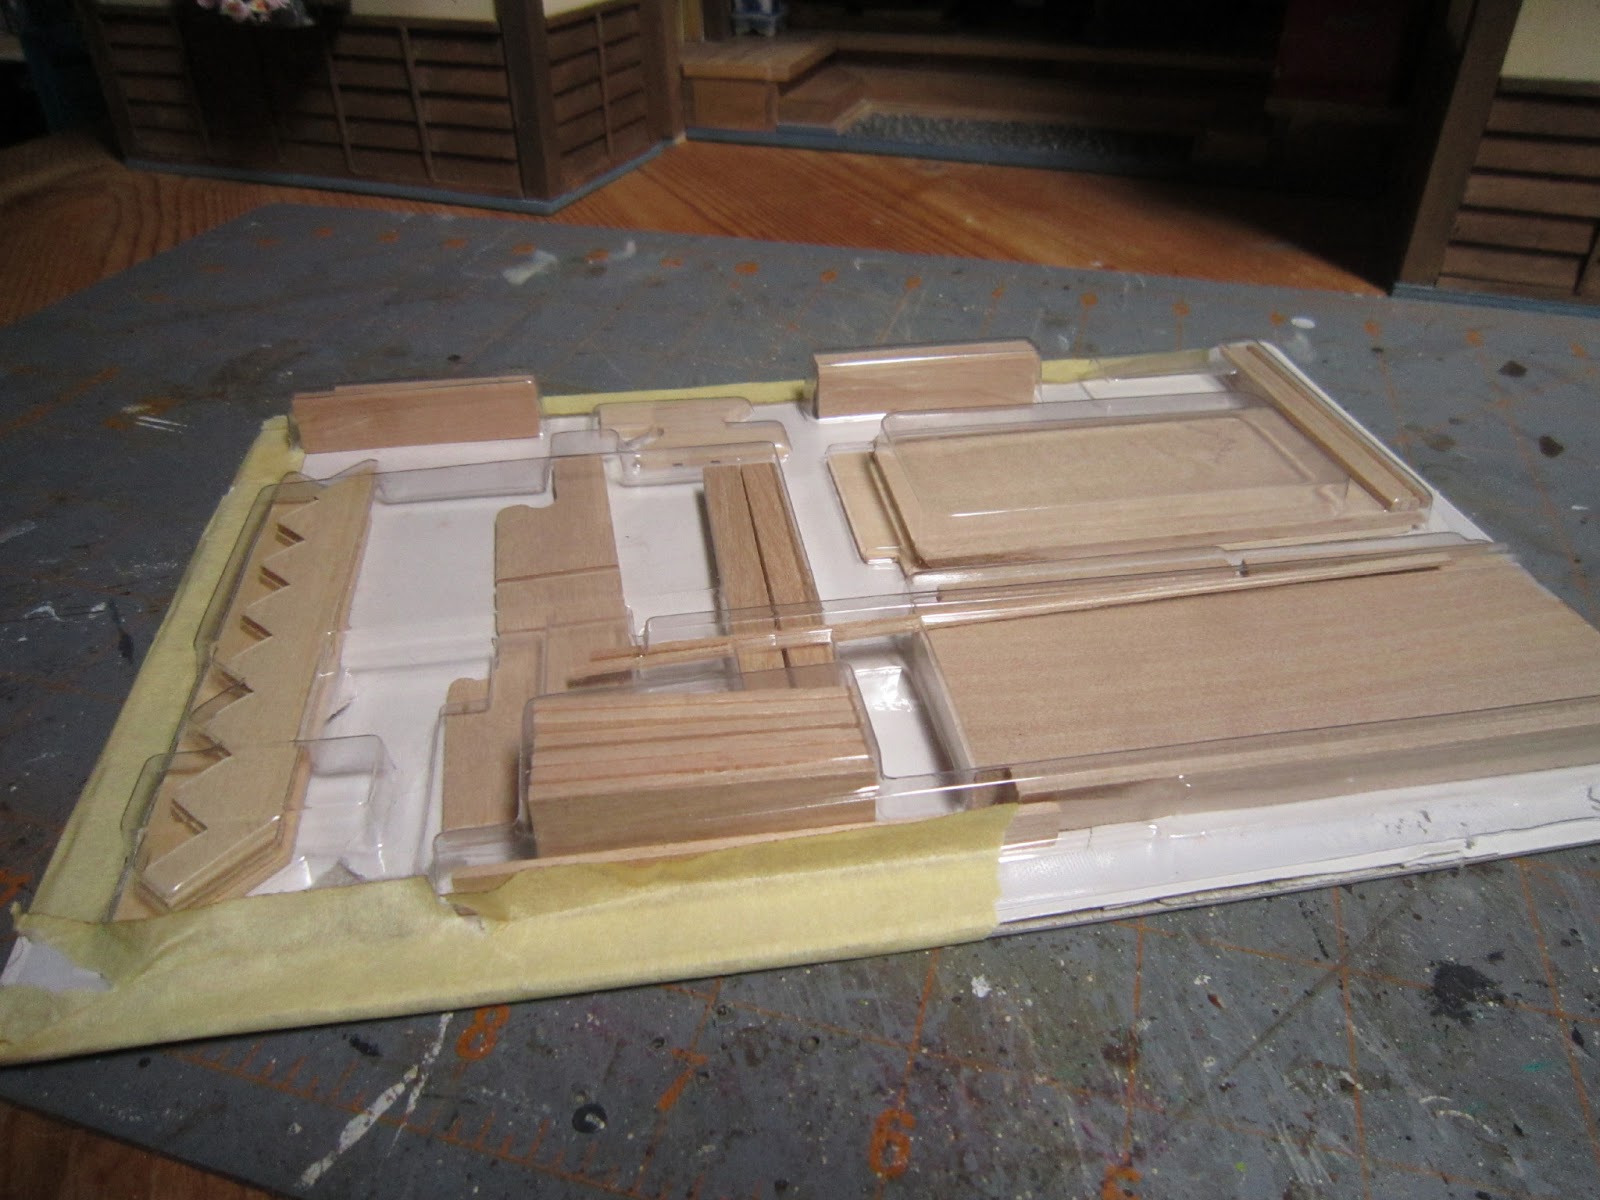
The last chapter had me putting together stairs which more or less I had to do here as well.  I assembled the two stair sections (one that leads to the first floor landing) and one that will lead directly to the second floor.  They went together quickly and I followed the previous procedure (assembly, painting, lumpy varnishing) as well as attaching the bannisters.  This was as per the instructions which, upon actually carrying out the whole installation, makes no sense as they unattach as you work anyway.  So, towards the end, I just saved the railings for last, both painting and varnishing, and then glueing.
Assembling the stairs again...

...and painting the stairs and railing pieces.

Since the landing would be attached to the back wall, I had to remove both the plant and my wall hanging of the Hell Maiden.  Really no big deal as I will hang it somewhere else in the house.  The plant on the other hand turned into a total pain as the leaves unattached during the removal and the reinstallation.  I had to refit under the landing and couldn’t effectively refill in the areas where the leaves fell off.  I did as best I could and figured that part of the hallway would be pretty dark anyway.  I also had to unattach and re-attach the bannister than runs around the stairwell as it was impossible to work on the plant with those in.  So reglueing there as well. 
First stairway section complete with railing which fell off anyway during installation.

Hallway - had to remove the plant and the scroll.


I had had the foresight to not glue the actual hallway ceiling since I figured I would have to make major adjustments during stair installation (also removing the above fore-mentioned plant was much easier without the ceiling).  I attached the stairs easily enough as they had two areas that slotted into existing wall beams.  I did have to sand down and trim a few areas on the landing since they exceeded in height the actual ceiling and the wall beams.  I glued these in place and let them dry a bit.  I was then able to attach the ceiling and the bannister to the first section of stairs.


Sanding down the decorative elements and back beam as they were too tall to fit under the ceiling.

Stairs fitted and landing glued in place after test fitting.
Using a template to sand the railing ends to fit the round posts at the top and end of the stairs.

Final stair section to be installed later and the additional railing that goes somewhere....?

Finished stair installation for this floor.  Weighted down the ceiling a bit to close the slight gap.

The last section of stairs and the small railing will be installed much later I suppose when I’ve actually built the second floor hallway.  That’s that!

Thursday, March 28, 2013

Chapter 56b - The First Floor Stairs (lower section and landing)

March 27th - 28th 2013

This is the first of two chapters for the stair installation to the 2nd floor.  The structure is fairly complex (not just a straight forward stairway to the next floor) made up of landings.  So even if I only have one more floor to add, there are two sets of stairs and an intermediate landing.

The stairs go together fairly quickly.  Thing is that putting them together is easy but after when it comes time to fit them, they will probably have to be sanded a bit and then repainted again.

I have already painted and varnished the stairs so whatever ends up having to be fixed will require less painting since once they are in place, the fit is quite tight and hard to work in such a limited space. 
Stair risers....

...and treads being placed.

Heavy coats of lumpy varnish.

I noticed that my gloss varnish has gotten all lumpy.  I’ve had to add water to it.  I mean, I have used quite a bit of it and admittedly over a year has gone by so I suppose everything really does have a shelf life.  Whatever.  It’s still nearly full so I am not spending money on another jar.  Will just double up on coats of paint.
Lumpy gloss paint, thinned with water. Pretty yucky.

Tuesday, March 26, 2013

Chapter 60b - Right Side Porch Awnings, The Egg Carrier


March 12th - 26th 2013

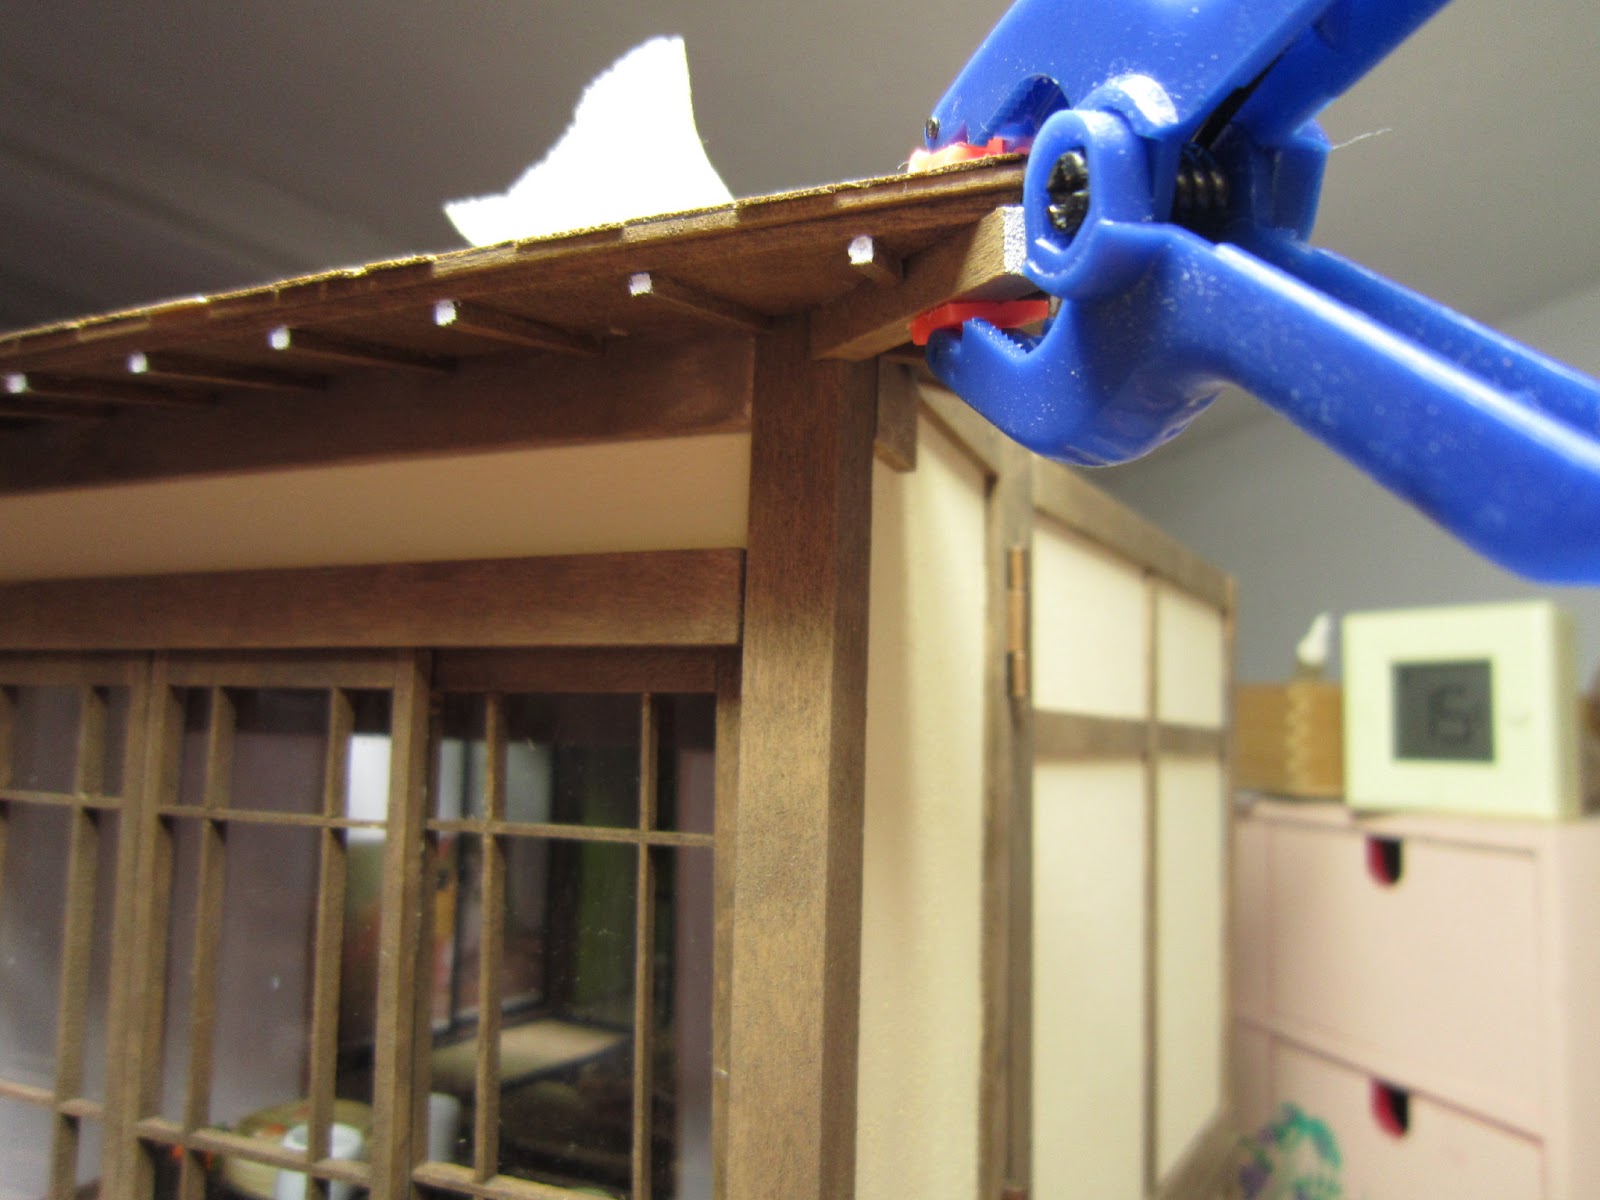
The adding of the awnings has pretty much been documented previously.  It’s just a matter of making up the little shingles and slowly taking the tape off the back and sticking them on.  As simple as it seems, it’s very time consuming and boring.  Obviously you have to ramdomize the placement a bit.  I realised tho that at the end of the whole installment, I had made very few ultra-dark colored shingles so I had to just touch up some of the shingles with some darker brown to make the awnings match the other side.  Another change I made was that this time, I cut to size the smaller underside beams so that I wouldn’t have to go crazy afterwards trying to install the larger corner beams on the underside.  This way, I just installed the smaller beams, stained, put on the shingles, installed the awnings, tested the fit for the larger corner beams then stained those and painted the tips white and installed those.  They glued in perfectly.  DONE! (almost as annoying as making the tatami mats....)
Positioning the awnings and sanding to make sure they match up.

Glueing the small underside beams.
Preparing the underneath beams for later installment of the larger corner beams.
Adding the shingles one by one.

After staining, painting the end tips white.


Adding the corner beams. Easier once the smaller ones have been cut to accommodate.

Awning glued in place with corner covers as well.

Finished awnings after adding a few darker shingles by touching up with dark brown paint.


Of course in my internet travels I always come across interesting little details that I can add to the house.  Some months ago, I came across a picture of eggs wrapped in straw.  When finally I ordered some eggs, I wanted to make this little wrapping but of course couldn’t relocate the picture.  After digging around for over an hour on the net, I came across it.  It’s from a book about Japanese packaging.  Even if the book is entitled “How to....” there is virtually no explaination on how to wrap these eggs.  And of course, as I am discovering, I couldn’t find anything upon searching (using every term from macramé to wrapping).  It seems trying to find "how to's" for any Japnese minis is nearly impossible.  I did find the pic tho and figured, “I’m clever...I can do this.”  Ah....arrogance.

After two days of screwing around with these friggin eggs, I had to resort to glueing them in place then working the “straw” (in this case raffia) around the eggs.  Yes, I know.  The eggs are the wrong scale (1/12) but I don’t care.  I still like the final effect.
Inspiration for egg wrapping.

Started by bunching up some raffia....
...then adding the eggs.  I had to glue them in place. I used a piece of acetate underneath so I could easily remove the egg bunch once the glue dried.

Finished wrapped eggs.

Hanging in the kitchen.  They look like ostrich eggs !


And now, I can move on to a few new things.  I want to install the stairs next before actually making more bamboo blinds for this side of the house.  And I have been stressing about actually getting the house mounted onto its base.  I think another trip to Ikea for some kind of table/desk on wheels is in order ?


Wednesday, February 27, 2013

Intermediate Work - Back Pack and Basket

February 25th - 27th 2013

Over the past year, I have spent a lot of time looking for objects and inspiration on the internet.  I would search out anything that had “japanese” or “miniature” in it just to see what kind of objects were being sold or created.  I’ve come across lots of objects (some too expensive for me to purchase and in any case the wrong scale) and lots of tutorials.  With my latest hiatus, I warehoused in my brain, computer or pinterest a ton of ideas.  This idea came from a combination of a picture I came across and some experiences from my past.

First of all, this is the picture which I had saved to my computer.  By the info of the file, I found it in October of 2012 (during my Halloween break).  I cannot find who it belongs to so I am unable to give credit where it is due (if this is yours, please message me and let me know!).  I loved it so much but I do remember it was the wrong scale (1:12) so even if I wanted it, I couldn’t use it.  But I could use it as inspiration.  I wasn’t sure how exactly it worked till I was watching the film “The Ten Commandments” one night (classic) and during the Exodus, many of the freed slaves had these sort of wooden framed carriers to haul wood, food and....baskets full of stuff.

So, backtracking for a moment, many years ago while I was at University getting my art degree, we had a scupture professor who was a bit bohemian.  Long hair, soft spoken, work boots and a very large basket style back pack.   I had never seen anything like it.  My dream back then was to get my degree and get a masters in costume design.  I used to come to classes ready to throw on the ceramic wheel or chisel at my marble wearing angora sweaters, 3 inch heeled suede boots...well you get the idea.  I never ruined or dirtied any of my clothes but I was very much the complete opposite of the majority of my fellow students - not to mention professors.  Anyway, that damn back pack was so foreign to me it ended up being the way I remembered him through the years.  And by this link, it's not like it was inexpensive!  Recently he has even had a show at the Maine Museum of Art but all I can still picture of my memory of him was that damn bohemian back pack. 

So, I decided to make the basket and the wooden carrier.  My homage to Duncan Hewitt ??

The first thing I had to do was map out more or less the scale.  Since the humans in this house would be 3-4” tall, the carrier had to be fairly small.  The basket could be bigger than the carrier (testiment the Exodus slaves in the movie) but I had to figure out the size and how to lash the shoulder straps to the wood.  I had also decided to notch the small pieces of wood otherwise the carrier would be too awkward and bulky.  After that, a little paint, wood paste and sanding did the trick.  I ended up macrameing the shoulder straps as no other solution was plausable.  The scale is so small that the crochet thread was too tiny (my hands cannot work that small anymore, they kept cramping up) so I opted for the kitchen string which worked out better than I thought. 
Working out the proportions and cutting the pieces.

Notching the pieces.
Fitting them with a little glue and wood paste.
Fitting the center support piece.


Adding the straps using kitchen string and simple macramé.

Adding the basket/load support pegs.

Finished dirtied carrier


The basket was as a lot of fun.  I had checked out a few tutorials and one by “1 inch minis” was wonderful but I just didn’t have the materials to carry it out.  I ended up going with the tutorial for the shopping cart from “Collectors Club of GB”.  I liked this method for two reasons.  One I could actually print out something on photo paper (I went to a site and had “First House” translated to kanji - thus batptising my ryokan) and two, I could use the wire that I had on hand to work with. 

The method was pretty straight forward.  Only a few steps I changed.  I used double sided tape instead of glue to fold over the ends of the basket and I added a strip of rice paper on the top and bottom to reinforce it.  I painted it with a mix of glue and water to help the wire stick to the paper better.  Then, I painted the inside and paper strips on the top and bottom and finally varnished the whole thing.  Once dry, I could distress it as much as I wanted.  I’ve been using some old makeup eye colors and brushing layers on to finished pieces gives it a nice dirty used look.  Sometimes it gets a little sparkly, but just burnishing it a bit with your fingers removes any excess.
Wires cut and ready, printed "basket" with "First House" in kanji. My printer  ink was running out!

Measuring out 1/4" spaces to make cutting more precise.

Sliding in the wires.  No need now to glue as I did that afterwards.

Using a small piece of flat wood to facilitate inserting the wires. I then cut out the basket and folded and fixed the edges.
I used a travel size square lotion bottle to help keep the shape of the basket.  It was easy to trim to size. I also had a small square piece of balsa wood for the bottom.

After covering it with a mix of glue/water, the wires were fixed by adding a small strips of rice paper to both top and bottom.  Then covering again with the glue/water mix.

After painting the rice paper strips, I varnished it and distressed it using old eyeshadow powders.

I added the last braided strap to hold the basket in place (when attached to the carrier), distressed the carrier and the trick was done.  I really like the finished piece.  It was a lot of fun seriously.
Braided safety strap to hold the loaded basket.

My bohemian back pack.


March 2nd 2013

Added a small sewing hook painted black to the back wall to hang the back pack on.  The basket I placed below it as I figured it'd be near the back door for quick access when they need to go out and gather wood or something else.

Kitchen with the backpack hanging on the back wall.
April 3rd 2013

My sister found an old foto of me at University and lo and behold next to me is the infamous basket.  Forget about my derby, the basket is what kills me!  And on a side note, I am sitting on the ground in a Norma Kamali coat.  Fashion plate to the last.  So 80's !
Raku firing in a Kamali coat. How chic!

17th October Update!
I found the original back pack picture ! You can purchase it here.  So glad.

Wednesday, February 13, 2013

Intermediate Work - Porch Repair, MiniaturItalia Minis Show

February 8-13 2013

First of all, many apologies for not having posted any news here for some time.  I had so many Halloween decorations (and houses) to build. Then we got into Thanksgiving which, believe it or not, I do here in Italy (my Italian friends have come to expect it - this year I even did a Gordon Ramsay turkey which was fab), then we got into Christmas.  Given it takes me a full two days just to put up my tree, well, suffice to say that I lost my concentration on the ryokan house project.  Not to say that I haven’t been mini-ing in the meantime.

I’ve made a few purchases during my “vacation”.  I found a lovely Coca-cola cooler for the front foyer (which I aged a bit and then stuck a few Japanese Coke adverts on and around it), plus a few purchases such as eggs and baskets and wooden serving trays.  All objects that will be used in the service and cooking for my ryokan guests. But more to be added later.
Open coke cooler with lots of ice and bottles

Few adverts attached.


 I finally removed the right front porch which had been annoying me since I had actually installed it.  I filled the holes with some wood putty and then redrilled and repositioned in the hopes of diminishing the large listing difference to the left hand porch.  Altho it’s not perfect, it’s better than it was.  So, it’ll have to do.
Filled in the holes with some wood putty
Re-positioned and drilled. 
Reduced list - matches somewhat better
I also attended my first miniature fair.  It was held in Milan, Italy this past weekend.  It was great to get away and fun to spend a few hours walking around the fair.  Since my needs are very specific, I only ended up spending around €60 which isn’t much I admit.  But if I feel I can make something myself, then I just can’t bring myself to buy it.  I did end up spending on a vintage Baseball Board Game (another project I have in mind) and a dyecast cash register which was very nice.  For the ryokan, I found a perfectly tiny hand brush to be used for cleaning up coal and carbon dust in the kitchen.  The other brush was a 1/12 scale and much too large.  Not to worry.  I cut it and sanded and glued a skewer on it and made myself a broom for the house.  Perfect !  
1/12 hand brush before reuse

Cut hand broom, sanded and attached a skewer for a handle
Finished broom and hand brush on the coal bucket
I found some beautiful raku style pottery which will fit in the Japanese style.  The pieces were extra special and really well priced.  I also located a wonderful marble cutting board/platter from a vendor who makes gorgeous marble minitaures.  And the final purchase which was just too cute to pass up was a miniature posable Panda bear.  Simply fabulous!!!
My mini purchases.
Little panda bear on the bed


Hopefully I am now back into the groove of building and things will begin to progress once again.  I have long since passed my 1st year anniversary of the build and considering I’ve neglected the build for a good 3 months, things are not so bad as they may seem.  So many ideas have formed in these months, I can assure you.  Lots to follow !