Tuesday, July 8, 2014

Chapter 81 - Bannisters and Shōji for the Right Side Second Floor Porch

July 7th - 8th 2014

I started first by trying again to install the front porch windows.  This took a lot longer than I thought as I had to slowly sand down the one piece that fits the inner sliding windows.  All of my windows (and doors) slide.  I wasn’t about to give up on this one porch because the doors were so tightly fitting.  So after a few millimeters of sanding, testing, sanding etc. I finally got the windows to fit.  Now I just had to glue the beam in place and let it set.  You can see in the foto where I had to sand down so much but this part is actually hidden when I install the outside panes.  So I wasn’t too concerned with it being clean or perfect.  Just the windows had to slide! 
Gluing the cross beam after massive sanding.  You can see the uneven edge.  It will eventually be hidden.
Next was making the final two shōji doors.  They went together quickly.  I didn’t like my leftover shōji paper so I cut some new pieces that would look nice when light shines behind them.  After gluing them to the back of the door, it was time to mount them to their sliding beam.  I had mounted the previous windows backwards since, like the front porch windows, the back side windows get installed before the front ones.  It’s because there is a running piece of wood that fits across the top of the windows and holds them in place.  Different from the front ones which need to be inserted into their respective slots above and below for them to fit (which is why I had such a hard time with the front porch windows).  Anyhow, since the final piece just gets glued across and holds them in place, it was fairly easy to install from the inside of the room (although had I done it right, I’d be installing from the outside of the room - so...I screwed up! What can I say.  I had done two porches already and I guess I forgot this detail...) so I painted the piece and installed the shōji by dropping the final piece into the room and positioning it in place.  I tested the windows to be sure no glue had gotten inside the sliding area.  They slide just fine! So since the porch was laying on its back, I then installed the front porch windows dropping them into place and gluing the final piece across to hold them.  Success! And they DO slide!
The two shōji windows.

Fitting the top cross beam which holds the doors in place.
Finished shōji doors.  They DO slide.
Adding the upper cross beam to hold the windows in place. And these slide too!
Next up was the bannisters that get installed on the outside of the porch.  There are a few steps that add to the overall look of the ends of the bannisters so I had to glue small pieces in place that then needed to be sanded down to shape.  So I had to glue then leave the glue to set before shaping the ends.  Once set, I sanded them down to shape, glued them in place, painted the bannister, varnished it and installed the bannisters into position on the porch.
Top before shaping, bottom after.

Bannister ready for varnishing.
Onwards! I’m on a roll! (See what happens when you have extra hobby time!)
Porch nearly completed.  Needs just the awnings.

Sunday, July 6, 2014

Chapter 80 - The Tatami for the Left Side Second Floor Porch, Two Sliding Windows for the Right Porch, a Small Table

July 6th 2014

Everything in this chapter I had already constructed in the past so I knew it would be fairly quick, or so I thought. 
I put the windows together and the small table.  Then I painted all the parts that required painting and then varnished the table for a slight shine.
The next part was putting the windows into the porch but I realized that I had mounted the shōji windows backwards and if I now put in these windows, I wasn’t going to be able to finish the shōji properly.  Since the last two shōji are in the next chapter, it really doesn’t set me back much. So I put the “glass” into the windows and set them aside till the next chapter where they will be installed.

The last part was the last two tatami in the kit (yeah!!!!) and if you’d like to see how I put them together, you can visit my previous blog posting that gave a pretty detailed explanation. 
With the completion of this chapter 80, I am officially 2/3 of the way through the kit.  Hallelujah! Maybe I will finish the ryokan this year!

Friday, July 4, 2014

Chapter 79 - Second Floor Landing Ceiling, Porch Sills, the Kutsunugi-ishi

July 2nd  - 4th 2014

Back to the build.
This chapter was completing the ceiling for the top floor landing and the sills that go along the outside of the porch.
The ceiling was usual straight forward painting, measuring the distances and gluing on the ceiling decorations.  I also made sure to drill a small hole where the bathroom light will go.  I have not glued the ceiling in place because first I have to mount the porches, then I have to attach the entire second floor to the first floor, and then I have to install the stairs.  So for now, the ceiling is just resting in place.
Gluing the ceiling pieces and painting the sill pieces.
Measuring out the placement of the ceiling decoration.
Ceiling decor finished.
Ceiling in place.
The next step was installing the sills.  The sills come in two parts. The base sill and the shingle like covering.  Installing the under still showed the badly fitted corner to the porch (from a previous chapter, I was unable to precisely match up the left side) so now, attaching the sills there was a bit of sanding to fit the bottoms on.  I fitted the tops by leaving a millimeter or two space where needed and fitting as best as possible.  After a light varnishing, I then glue the  bottom “supports” into place and the sills were done.
Gluing the upper sills in place.
Gluing the supports in place.
Finally, the last part was the kutsunugi-ishi or the stepping stone.  I used the same method as the pervious stones (four total) and painted the stone more greyish this time.  I added the sand and varnished the stone and with that, this chapter was complete. 
Sills and kutsunugi-ishi finished.

Wednesday, July 2, 2014

Intermediate Work : The Outside Storage Area, Pergola, Work Table, Fence and Gate - Part 2

Continued from previous post.
Next step was adding some shelving to the inside of the fence.  I used again some scrap wood and glued two shelves in between the pergola beams.  I used the leftover scrap from the sawed off cross beam points for the shelf support.  
The shelves fitted on the pergola.
I then made the framework for the roof of the pergola.  I just wanted a grass type roof and found some grass strands at Ikea.  Apart from the dried lavender flowers and the perfume, it was pretty good material.  I then had to take a few days to bind bunches of the grass with some raffia and clean and position it.  It was a total pain but I ended up binding and gluing then adding it to the framework.  
Making the frame for the roof section.
The grass stuff I found at Ikea.
Binding the grass into bunches.
Gluing the bunches in place. I trimmed them after the glue dried.
I completed the fencing by adding outside supports to cover the string and gluing them in place.  Next was the addition of two end posts then gluing the fence onto the pergola.  The fence itself is pretty crooked as is the cross sections.  I couldn’t put them on the inside as it would have caused the fence to bulge out too much.  But since the whole outside fence is dirty(I used grey eyeshadow) and plastered with adverts, I was ok with it.  I had to add lots of dust and mud like dirt around the fence on the outside area as it's obviously a work area and not to be seen by guests.  For the inside dust, I used lint from my dryer (a tip I picked up from another mini maker).
Adding the two end posts.

Attaching the fence to the pergola.

Fence now attached.  You can see my bird's nest a little.

Adverts added and the whole fence brushed and dirtied.

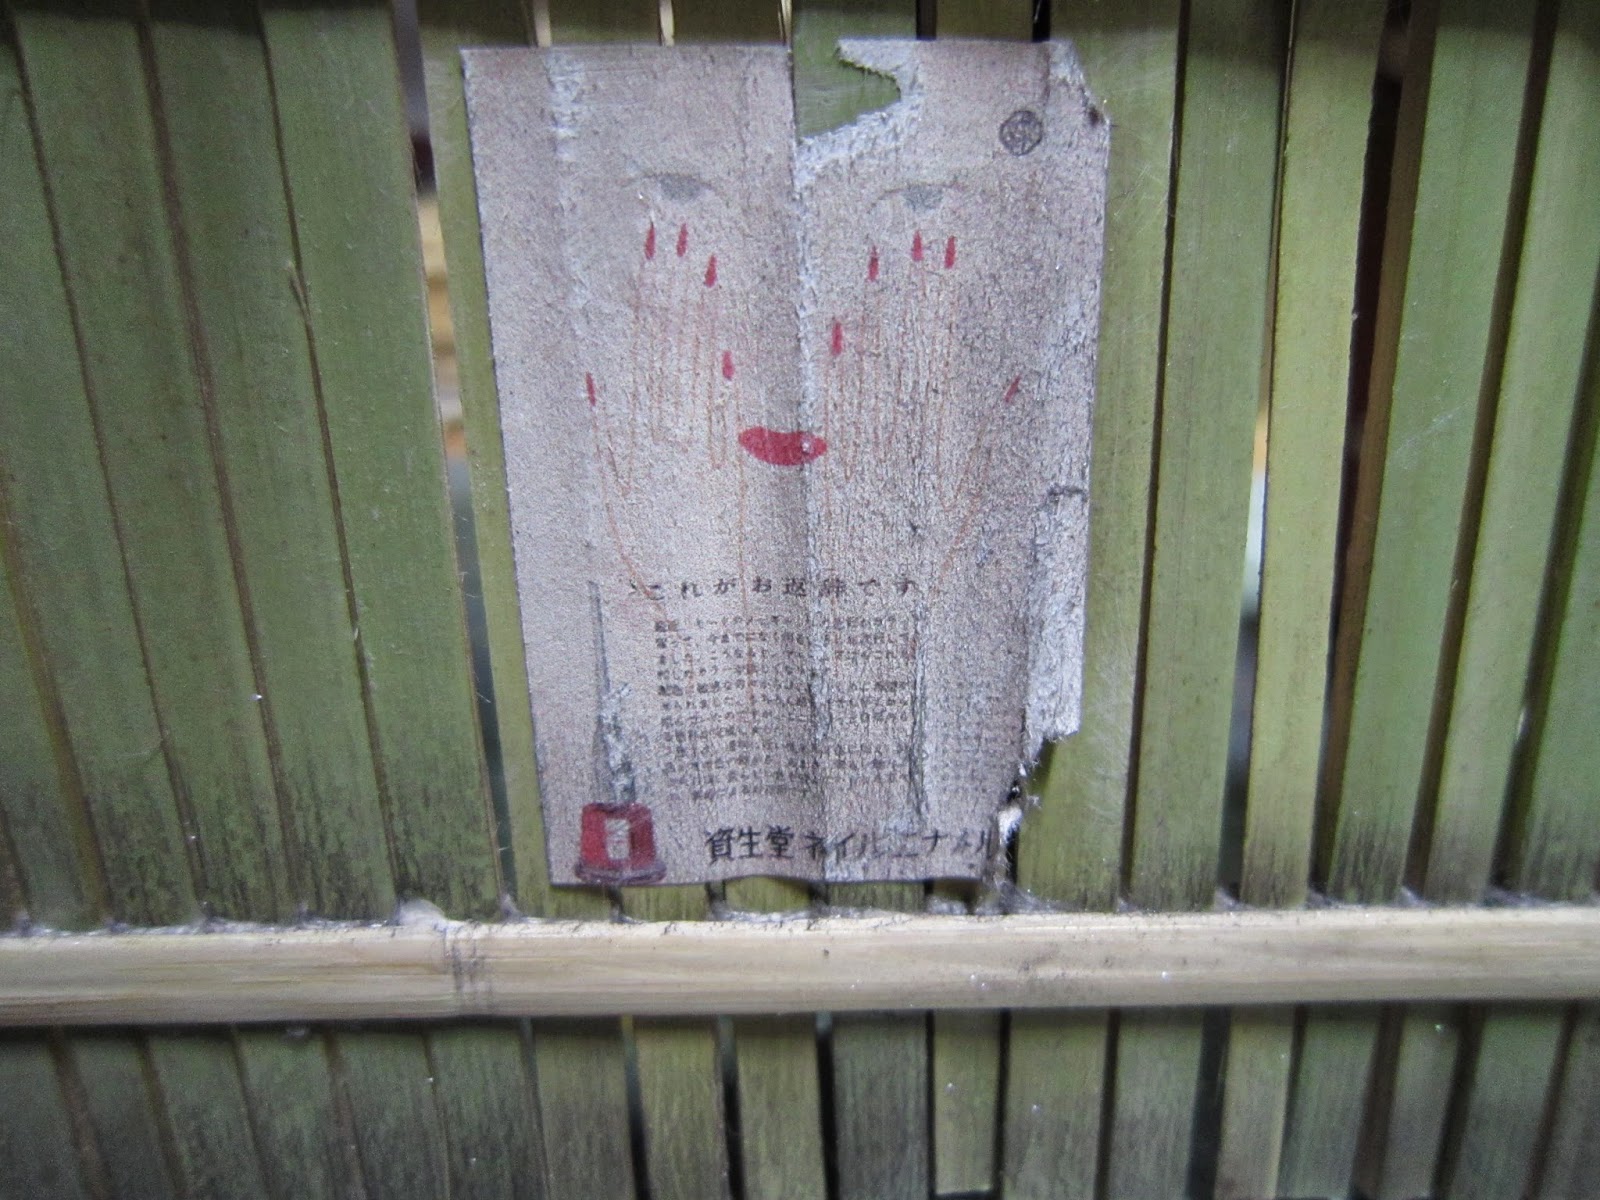
An advert that is old and fraying. But kinda creepy.
I fashioned the gate and the hitch and added that to the pergola section as well.  The back of the house will serve as the trash collecting area so I needed a gate to open to the back of the house. 
Inside the gate. I fashioned a quickie closure using some wire and glue.
Outside the gate. Aged and dirtied with the grey eyeshadow.
The bird’s nest was added as planned.  I figured with the poo, a bird should be around.  I had an icky ugly bird so I repainted him brown and stuck him in the nest then stuck him in place.  Poo baby poo.
Bird and nest in situ. I added more grass bits under the nest to fill the area out a bit.
The final touch was adding the grass roof, gluing it in place and adding some brown/grey highlights since I suppose the roof certainly wouldn’t be pristine.  
Grass roof trimmed and attached to its frame.
The last step was adding objects inside the pergola then setting the roof.  
The space ready for filling in with objects.

View from above - you can see thru to the kitchen.  And the nest.

Adding dryer lint for built up dirt and dust.


Overview. The left side of the house folds open so I had to keep that area object free.


Top view of the grass roof. 
Outside cabinet kitchen with objects.

If I find more “stuff” for the outside area, I’ll see if I can fit it in! 
View thru to the gate. On the back right you can see the numerous vases for pickling!

Tuesday, July 1, 2014

Intermediate Work : The Outside Storage Area, Pergola, Work Table, Fence and Gate - Part 1


Pergola pieces from the DHE kit.
June 10th - July 1st 2014

Ages ago, I purchased a pergola kit from DHE since my idea was to use this for the area outside the kitchen.  I figured this would be a storage and work space as per usual outside kitchens areas.  The plan was to fully stock it with stuff and even make it quite messy (you know, those spaces that Health Services always search first) and used.  So I pulled out the pergola which is really for 1/12 scale and had a good look at it.  I could still use it but it needed to be cut down to size.  It won’t be flush up against the house since it has the top beams which are the traditional gate shape but still, there was quite a bit of cutting to do before we started any installation.  I shortened the length-wise beam, the height of the vertical beams and removed the points from most of the cross beams.  Then I painted the pergola a reddish brown.  I assembled the pieces and let the glue dry for quite a while since I wanted to age the pergola and wanted to be sure it wasn’t going to fall about during that phase.
Once it was glued and dry, I added some of my wood aging concoction: basically a piece of copper sponge dissolved in a mix of water and vinegar.  It creates an acid wash over the entire surface giving it a weathered look.  I left it overnight and the next day the finish looked pretty good.  Water stained and streaky.  My next step was to add some bird poo.  I liked the idea that some birds would have made their nests inside the pergola so I went back to the bird poo explanation from Pat and Noel’s blog.  They have to be the masters of miniature and Pat is nice enough to actually include tips and tricks.  I invite you to read thru Bird Poo 101 and the other postings for info and inspiration.  
Leveling out the shortened beams.
Painting the beams a rusty red.
Aging the beams with the vinegar wash.
Adding the bird poo and sanding areas for aged look.
The next phase was fencing in the pergola and creating an interior storage space.
I started by cutting a cheap sushi mat (it has thicker bamboo posts than a placemat) which took a while since I need to cut each piece twice as the bamboo is quite thick.  Once that was cut, I put it aside as I imagined that would be the last part to be installed.

Cutting the sushi mat down.
Next I started work on the “outdoor” kitchen space.  Basically, I just wanted a combo shelving unit outside where the hibachi could be set up and perhaps some cooking tools hung.  I cut up some pieces from balsa wood (following a little kitchen picture I had found on Pinterest for inspiration):
Inspiration for the kitchen area outside
...and constructed a sort of shelving unit and table.  I added a border to the table edge then painted it muddy brown.  I found part of an old railroad rail from my son’s train project and used that to add a bar to hang utensils from.  I then started on adding some objects.  First was a ceramic tile for sitting the hibachi on.  I used the liquid enamel and then dirtied it up.  That is where bits of charcoal will fall without burning the table.  
Making the outdoor kitchen from scraps.
More scraps and liquid enamel for the hibachi base.
Where the mini kitchen cabinet will be inserted between two pergola beams.
There are lots of pics in this addition so I’m splitting the work into two blog entries.  To be continued...