Sunday, October 4, 2015

Additional Stuff : Fishing Baskets, Dried Kipper-like Fish, Eels, a Demon Banner


Shōki The Demon Slayer

17 Baskets.
June - October 4th 2015

Sorry for the lack of updates.  Things have changed recently as I have gone back to work full time.  I leave the house at 8:30am and am not home usually until around 7pm.  I really didn’t want to go back to work for such long hours but sometimes we really don’t get to choose what we want out of life.  So, my hobby has pretty much suffered and has been somewhat neglected.

I say somewhat because as usual, I always have my eyes open for certain additions or embellishments for the ryokan.  I managed to find around the beginning of June a bunch of baskets (17 in all) that came from an Ebay seller from Thailand.  I had been searching for months for fishing baskets (even looking on Etsy for basket makers) with no luck.  I searched the internet for instructions and where to buy materials to make them myself but couldn’t find the materials.  I was about to make a $25 purchase for 7 little hand made baskets when I happened upon the Ebay offer.  Seventeen for around a few dollars more for shipping.  I am so glad I made the purchase and even if it took around a month to arrive, I was pleasantly surprised! The quality was very high.  The pieces were more than I had hoped for and I think they add a nice touch to the back house area where the fishing equipment is.  I understood from the listing and the person who sells them that they are typical little souvenir basket type objects sold in gift shops in Thailand.  I just hope no little children were involved in their manufacture.

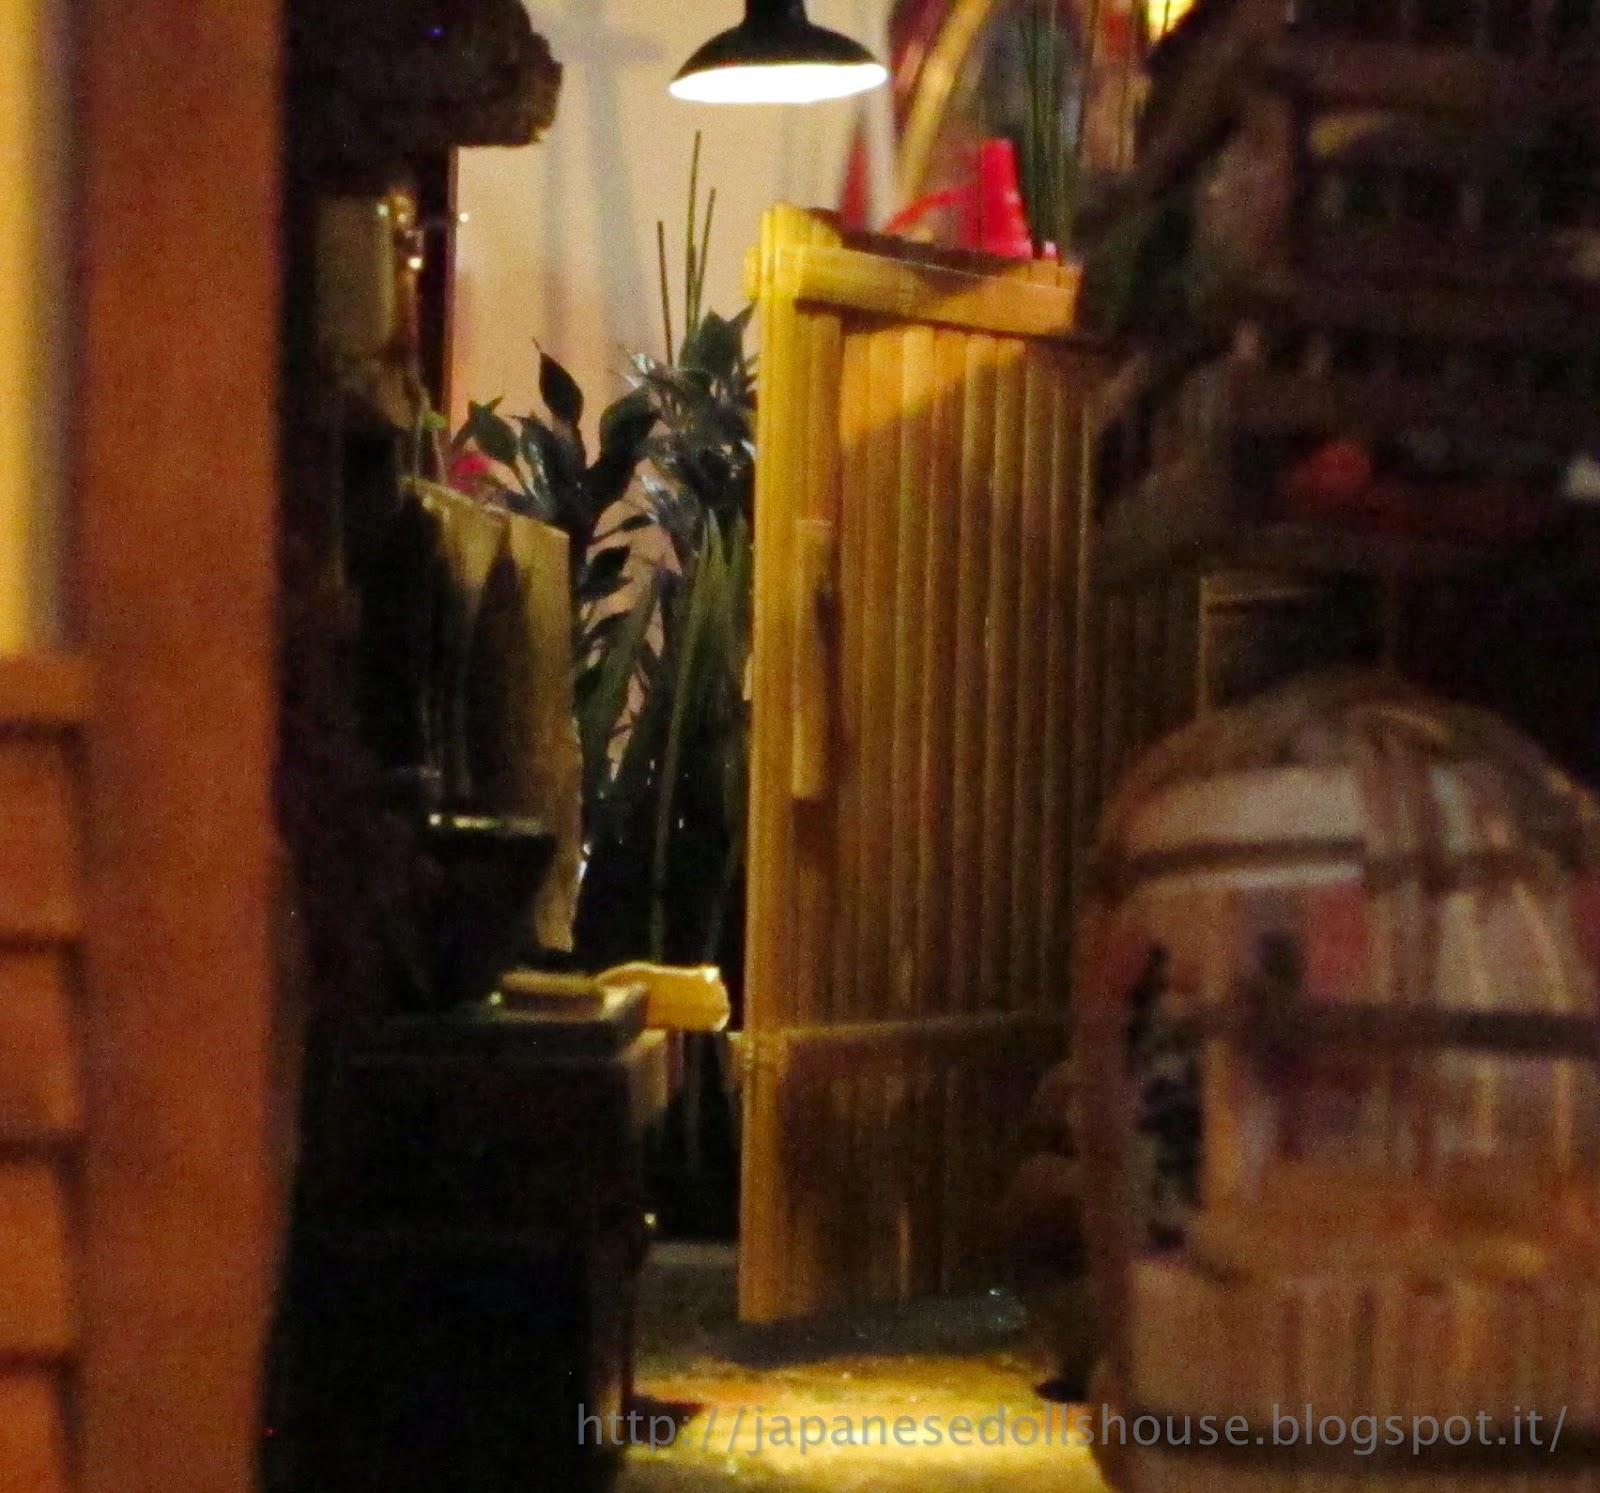
Fishing baskets in place out back.
I used one of the baskets to place on top of the cabinet in the buddha room along with another little daruma doll that I picked up at Ajisai shop in Florence.  The rest of the baskets will probably be spread over the house somehow.
Inside the buddha room.
Mini basket and daruma doll.


Gluing the fish in place.
Bucket of eels and threaded fish
Not long after, I happened across a FaceBook posting in the miniatures page I follow.  The posting was super interesting.  It had to do with food stuffs from the Tudor period.  I actually enjoy reading a lot of historical information about the Tudor family and medieval English royalty so when I happened across a posting about lamprey (gross sucker fish) I ended up linking over the the poster’s Etsy shop .  Mary Thornton has the most amazing little objects in her shop but what’s more, she has an amazing blog that gets into the details of the food stuffs she reproduces in miniature.  Not long after she had made the lamprey, she made some eels!! Yes eels!! I know that the Japanese use quite a bit of fresh water eel in their kitchen so i decided to order a bucket of eels.  I ended up messaging her and we got to chatting about smoked fish and kippers.  I sent her a pic of the smoked fish I had been trying to find for months (most fish are way too big for the ryokan house’s scale) so she said she’d give the smoked kippers a go.  I’m glad she did! In between the time I ordered and when she actually shipped everything some time had passed (first because it was summer holiday for lots of people including Mary and then we needed a little time for the fish to arrive in Italy....say no more) but when they did I was blown away.  The were perfect! Now I could make my Japanese hanging fish holder (as seen in my favorite wrapping book “How to Wrap Five Eggs” which is a misnomer because they never actually explain how to wrap five eggs or anything else).  I ended up having a momentary lapse on working out the knotting (which ended up being resolved again by posting on the FaceBook miniature page and a having a helpful soul assist me in remembering my crochet!) and finally got around to making the hanger.  I had to chain crochet the fish onto the raffia.  I then put some liquid glue on the back to hold them in place.  And finally I have my smoked kippers and eels ready to serve the guests.  The leftover fish went straight into the salted fish container I had made ages ago (from left over tatami mat) and back in the outside kitchen hutch.  Very cool.
Salted fish container now full.
Hanging fish and eels waiting to be grabbed and skinned!
Around the end of August, my sister came for a visit.  She had been to a show at the MFA in Boston which I would have loved to see.  Since I was a teen, I have been attracted to Japanese woodblock prints.  Mostly the technique is what intrigued me.  In fact, when I finally went to university to study, I majored in printmaking.  Anyway, the show was about the ukiyo-e prints and in particular the works of Hokusai.  Who has been following my blog knows that I used his “Under the Wave off Kanagawa” or more commonly known as the Great Wave print inside the spa.  I’ve always loved this print.  The wave reminds me of a great hand ready to scoop up the long boats in the water.  Well, my sister gave me the MFA’s accompanying book for the show.  Apart from the comprehensive collection info it provided the book showed so many prints in detail that it was amazing.  I think I would have been lost at the show.  It would have taken me ages just to study each print.  In the book, there was a banner of a demon queller known as Shōki.  Like often happens, he was originally a Chinese legend who then became popular in Japan.  Here is an excerpt from the book:
“He was said to be the ghost of an unsuccessful candidate for an official position in the Chinese bureaucracy who committed suicide after he was unfairly disqualified in the imperial examinations, but in his afterlife became a benevolent guardian.  Supposedly, he appeared in a dream to the Chinese emperor and vowed to fight all demons, especially those that cause disease.  A picture of this supernatural warrior was considered an auspicious object that would promote the health and well-being of everyone in the home in which it was displayed, particularly that of children...”
I thought it was pretty funny how in the afterlife a politician agrees to do good and even come back to protect people.  But what I liked most was that the banner designed by Hokusai was created for a festival (then only for boys but today for all children) which is celebrated on the fifth day of the fifth month and is the same one that uses the koi kites which are already on display on the outside porch of the ryokan.  So Shōki fit right in.
I printed a reduced version of him on some rice paper, then attached some thin wooden strips with glue to simulate the banner staffs.  I then glued a small straw onto the wooden railing and inserted the banner there.  It’s not glued in.  That so I can change banners if I want in future.
Trimming Shōki for fitting on his banner staffs.
Shōki protecting everyone in the house.
Right now I am working on some more geta shoes that my friend gave me.  She has the same kit but since we are no longer working together, she isn’t really working on the mini’s anymore, which is sad.  She was bashing her kit into something different so she didn’t mind giving me a few pairs of geta to make for the house.  Course, they are still a total pain in the ass to make so I suppose I’ll finish them at some point.

Well, that’s about it for now.  I am still looking for a nice 1/20 scale bicycle to add to the outside but no luck so far.  But I’m patient.  I figure like everything up till now, I’ll come across it when I least expect it.

Saturday, June 13, 2015

Additional Stuff: Ikebana Using Various Plants

May 29th - June 13th 2015

Ikebana is the Japanese art of flower arranging.  Of course it is quite old and has traditional compositions and content but for simplicity’s sake, I will create a free style or Jiyūka design.  I figured I’d use some of the “flowers” I had bought at the beginning of this project and just dye them pinkish since I wanted to try and make sakura branches.  The flowers already had a slight purple hue so bringing them to pink was no big deal.  I then laid them out to dry so I could work with them.
Dying and drying the petals.
I wanted to have two kinds of cherry blossoms in the ikebana vase.  One from Georgie Steeds Miniature Garden Centre kit and one using the tutorial by Marianne Cook from the March 2015 issue of The Dolls’ House Magazine (the one with my ryokan feature).  I thought the tutorial was really very nice and wanted to give it a try.  The first part was easy dipping the florist’s wire into some red paint but the next part was a bit more exasperating.  You have to cut some small threads and glue them to each stamen.  But there was no way I was going to be able to be super precise and get the bottom part of the threads to match up with the underside of the red painted bulb.  So I just glued them on as best I could, let them dry and then cleaned them up a bit.  Once dried, I trimmed them down, then dabbed more red paint on each pink thread as well as the stem and let them dry.  Next was to punch a hole in the center of each flower and thread them onto the stem.  Sometimes I punched the hole (with a needle) too close to an edge and the petal blossom split while I slid it up the stem.  So I’m glad I made a bunch of flowers.  Once that was done, more drying time.
Dipping the tips in red acrylic.
Cutting the stamens
Gluing the stamens
Finished stamens before trimming.
After adding the flower and trimming the stamens.
Next was making the sepal (underside petal) for each flower.  Since I didn’t have a puncher, I had to take the flowers I had and just trim them into star shapes.  I then painted them deep red.  I did check and this part of the flower on a pink cherry blossom is quite red.  So I did the same.  After letting them dry I shaped them pressing a toothpick in the center and then piercing them to make the hole so I could insert them onto the stem.  A dab of glue and the sepals were in place.  I liked the final effect.
Trimming the stars to size.

Finished blossome with the sepals
Next up was fashioning some branches.  It was a bit difficult as my hands are not very steady but I managed two branches by wrapping different gauge wires around a thicker one.  I added some dots of glue at the joints and let them dry.  Next was just to paint them brown and let that dry too.  Then I added the blossoms around the branches.  I had only made 16 blossoms so I decided to use this branch as the full pink blossom and then make another with just white ones.  I then added some green leaves leftover from the plastic plants I used in the back of the house.  I painted them a little red and varnished them with a little shine since that’s the kind of leaf I found pictured on the net (at least with pinkish blossoms).  I can’t really complain about the final result.
Final result pink cherry blossoms on a branch.
Next up was the cherry blossom kit I got from Miniature Garden Centre.  These blossoms were really quite small but still, given the small scale of the house, they would give a perfect overall look.  First I painted the “branches”.  I painted two black as I had seen a really nice arrangement with pink petals on a black painted branch.  So I wanted to try that.  Then I just formed each petal (using a mousepad and pressing a toothpick into the center) and glued each one onto a branch.  After drying, I put a dot of glue on the inside of each blossom and sprinkled them with the yellow “pollen” dust.  They’re perfect!
Gluing the blossoms on the branch.
You can see the finished cherry blossoms on the right and beginning the centers for the white flowers.
While those were drying etc., I started work on the last set of blossoms.  These ones are white so I painted some petals white and let them dry.  I then dipped the tips of some #30 gauge wire into glue a few times to form a round top, then into yellow acrylic, and finally into a more liquid glue solution and the yellow pollen.  These will be the centers of my flowers.  Once dry, I pressed the petals into shape (two per blossom) and slid them up the stem gluing them into place.  Next up was to make the sepal.  From what I could see, they are green for white blossoms.  I managed to locate a star punch (!) even if it was too big for mini flowers it proved useful.  All I had to do was to trim each of the stars more or less to size.  I realized tho that the flowers looked less and less like cherry blossoms.  But really that was ok with me.  They still looked convincing as far as flowers go.
Once the sepals were glued in, I attached the flowers to its branch.  Then I made some twisted bamboo pieces and placed all the elements into the tall vases on the top floor hallway (plus a few cherry blossom branches in the squat vase on the first floor).  I made a few long leaves using the green sushi grass and the ikebana vases were done.  I think it adds to the final effect in the hallways and fills out those oversized vases pretty well.

Cutting out and trimming the star shapes.
Gluing the flowers onto their branch.
Finishing the branch.
Ikebana vases. 
Two larger vases with the blossoms in place.
And another element is finished.
Left side Ikebana arrangement.

Finished right side vase.

Friday, May 22, 2015

Additional Stuff : Water Lily

May 15th - May 22nd 2015

I purchased recently from The Miniature Garden Centre a few kits that I wanted to use for the Japanese Inn and my next project.  The kits are super easy and quite nice.  I wanted to add a small tub with water lilies in it out in the back so I had been searching for the right kind of container for a while.  I ended up finding it while cleaning out some old perfume bottles and such.  It’s some kind of stone carved pot which contained a solid perfume.  The top and bottom never really fit well and sure enough, looking at the top, I thought it would make a nice container.  So I took it apart, cleaned it up and made the transformation. 
Before cooking the liquid Fimo
After cooking the Fimo
I added some stones in the bottom and then made my “water” by using liquid Fimo.  I added some moss and grass round the edges (this is going out in the back where no one really stays on top of the gardening or caring for the lilies) where I figured the garden would be trying to reclaim the tub.  I then got cracking on the lilies.

The kit pieces
The pieces are pre-cut and quite small.  But with a little patience and perseverance I managed the three flowers.  Next were the leaves.  I did some net surfing to find some interesting leaves and sure enough there were a ton of photos.  I was undecided whether I should make them a bit yellow or not, considering the neglect.  But I really liked the overall look of the healthy leaves so I decided to leave them green with a little brown on the edges.  I used the bottom of a paint brush to round the edges of the leaves up a bit.  I then put a little clear gloss on them and positioned everything in the tub leaving the last largest leaf a bit above the surface of the water.  I added more gloss varnish again over the bottom leaves and the surface of the water and let that dry.  Then, I just added the little flowers on top.
Making the flower.
Finished leaves vs. the orignal kit piece.
Leaves placed in the tub.
Finished tub with lilies
Showing the overgrowth on the back of the tub.
The final step was installing the tub out back.  I really like it!
Lilies grow best in mud....

Friday, May 15, 2015

Additional Work: The Back of the House, Shrubbery and Such....Nee.

10th April - May 15th 2015
Cutting up the foam block.

I had started thinking about the back of the house and how I wanted the area behind to be finished off.  First I thought just grass and overgrown areas with a fence to hold out the wild growth but then, I decided to try and enhance the environment behind the house as much as I did in the front.  So, I opted for overgrown wild grass and shrubbery and without a fence.
I bought some florist’s green blocks and started to cut them a bit to size.

Plastic grass elements.
Granuled brown stuff for filling.
I had bought some plastic grass elements and leaves in the USA on my last trip there (more or less to scale) and using the green and brown filler from my son’s train decorating kits I covered the florist blocks somewhat.  I also had some leftover greenish stuff (I don’t know the actual name for it) that are like dried out mosslike growth and used those as bushes to fill out some areas.  I pulled out the iris blossoms I had bought ages ago and used some green “grass” that is normally used in Japanese food presentation.  They are plastic sheets which when cut to size and folded fit in and around the stem of the iris quite nicely.  So I made a small garden of irises by slitting a bunch of these plastic sheets, rolling them and then inserting them into the grass base.  When I checked out the irises at the end of my street, I noticed that they usually grow in a large bush-like cluster.  Then they flowers die.  But the greenery remains for a while.  So I made some clusters of greenery too.  The back of the garden will be the least visible so I had to be sure to make the areas as if you were viewing them when you step outside the back storage area gate.  Plus I didn’t want the grass to block the back of the house too much otherwise you really can’t see the woodshed or the garbage bin.  So with that in mind, I made the next section flat.  Just glue and covering with more green and brown material and some static grass.
Filling the first foam section.
Adding an iris and some "leaves"

The plastic food separator.
Slitting the sections into leaves and adding the tape for binding.

Creating bushes with the plastic rolls.
First two sections pretty much complete.
Incorporating the aquarium flower to the base.

The next few sections I decided to incorporate the foam and the aquarium plastic flowers I had bought years ago.  I just continued to adopt the leftover materials from my son’s train table and the extra pieces of plastic flowers and bushes to cover the surfaces.  I made a small tree from one of the plastic branches (covering it in some florist’s tape and painting it brown) and then for the final section I just cut some of the foliage sheet and inserted plastic grass sections underneath.  The grass is all the same height but irregular enough to be acceptable.  

Adding the tree.
Adding the last section with grass filler.

Afterwards, I made a few more bunches of wild flowers for the back of the house and to be used as filler around the edges.  I made them the same way I did before by pooling some glue on an acetate sheet and spreading the flowers on the glue and letting it harden.  Then the flowers just peel off the sheet ready to be glued in place.
Finished flower "beds", just peel and glue.
In the meantime, a friend of mine had posted a picture of a bottle for saké named “Demon Slayer” and I knew I had to have some in the inn.  So I searched out some images, pulled out the remaining bottles (out of scale but usable) and labeled them accordingly.  At this point, you can drink beer, saké and Coke but no water at my inn. 
Demon Slayer!
And finally, the last section was finishing off some of the area around the trash bin.  I wanted some papers coming out of the bin and some trash bags carelessly discarded next to it (too lazy to put the bags in the bin...) so I followed a neat and easy little tutorial for making mini trash bags and made a few.  I also had some leftover printed newspapers which I bound up and deposited there as well.  The inn’s cleaning personnel are not so diligent in reality I guess.  If I get hold of some empty Coke bottles I may add them in. 
Cutting the strips of trash bag.
Tying up the bag.
Placing the bags and the discarded newspapers.

Detail of the trash bin area.  I may add some dust bits around here.
And so, the house is around 99% done.  Only because I don’t think I’ll ever finish it.  I have a few more silly objects to add to it but now I can be selective in what I want to add or change.  Just embellishing at this point.
Looking down past the woodshed.

Looking into the kitchen from the back garden.
Back view including Bansky graffiti

Looking out the spa windows.  You can see the tree.
Through the storage area and out the back gate....
Thanks again for your continued feedback and for following me.