10th April - May 15th 2015
 |
| Cutting up the foam block. |
I had started thinking about the back of the house and how I wanted the area behind to be finished off. First I thought just grass and overgrown areas with a fence to hold out the wild growth but then, I decided to try and enhance the environment behind the house as much as I did in the front. So, I opted for overgrown wild grass and shrubbery and without a fence.
I bought some florist’s green blocks and started to cut them a bit to size.
 |
| Plastic grass elements. |
 |
| Granuled brown stuff for filling. |
I had bought some plastic grass elements and leaves in the USA on my last trip there (more or less to scale) and using the green and brown filler from my son’s train decorating kits I covered the florist blocks somewhat. I also had some leftover greenish stuff (I don’t know the actual name for it) that are like dried out mosslike growth and used those as bushes to fill out some areas. I pulled out the iris blossoms I had bought ages ago and used some green “grass” that is normally used in Japanese food presentation. They are plastic sheets which when cut to size and folded fit in and around the stem of the iris quite nicely. So I made a small garden of irises by slitting a bunch of these plastic sheets, rolling them and then inserting them into the grass base. When I checked out the irises at the end of my street, I noticed that they usually grow in a large bush-like cluster. Then they flowers die. But the greenery remains for a while. So I made some clusters of greenery too. The back of the garden will be the least visible so I had to be sure to make the areas as if you were viewing them when you step outside the back storage area gate. Plus I didn’t want the grass to block the back of the house too much otherwise you really can’t see the woodshed or the garbage bin. So with that in mind, I made the next section flat. Just glue and covering with more green and brown material and some static grass.
 |
| Filling the first foam section. |
 |
| Adding an iris and some "leaves" |
 |
| The plastic food separator. |
 |
| Slitting the sections into leaves and adding the tape for binding. |
 |
| Creating bushes with the plastic rolls. |
 |
| First two sections pretty much complete. |
 |
Incorporating the aquarium flower to the base.
|
The next few sections I decided to incorporate the foam and the aquarium plastic flowers I had bought years ago. I just continued to adopt the leftover materials from my son’s train table and the extra pieces of plastic flowers and bushes to cover the surfaces. I made a small tree from one of the plastic branches (covering it in some florist’s tape and painting it brown) and then for the final section I just cut some of the foliage sheet and inserted plastic grass sections underneath. The grass is all the same height but irregular enough to be acceptable.
 |
| Adding the tree. |
 |
| Adding the last section with grass filler. |
Afterwards, I made a few more bunches of wild flowers for the back of the house and to be used as filler around the edges. I made them the same way I did before by pooling some glue on an acetate sheet and spreading the flowers on the glue and letting it harden. Then the flowers just peel off the sheet ready to be glued in place.
 |
| Finished flower "beds", just peel and glue. |
In the meantime, a friend of mine had posted a picture of a bottle for saké named “Demon Slayer” and I knew I had to have some in the inn. So I searched out some images, pulled out the remaining bottles (out of scale but usable) and labeled them accordingly. At this point, you can drink beer, saké and Coke but no water at my inn.
 |
| Demon Slayer! |
And finally, the last section was finishing off some of the area around the trash bin. I wanted some papers coming out of the bin and some trash bags carelessly discarded next to it (too lazy to put the bags in the bin...) so I followed a
neat and easy little tutorial for making mini trash bags and made a few. I also had some leftover printed newspapers which I bound up and deposited there as well. The inn’s cleaning personnel are not so diligent in reality I guess. If I get hold of some empty Coke bottles I may add them in.
 |
| Cutting the strips of trash bag. |
 |
| Tying up the bag. |
 |
| Placing the bags and the discarded newspapers. |
 |
| Detail of the trash bin area. I may add some dust bits around here. |
And so, the house is around 99% done. Only because I don’t think I’ll ever finish it. I have a few more silly objects to add to it but now I can be selective in what I want to add or change. Just embellishing at this point.
 |
| Looking down past the woodshed. |
 |
| Looking into the kitchen from the back garden. |
 |
| Back view including Bansky graffiti |
 |
| Looking out the spa windows. You can see the tree. |
 |
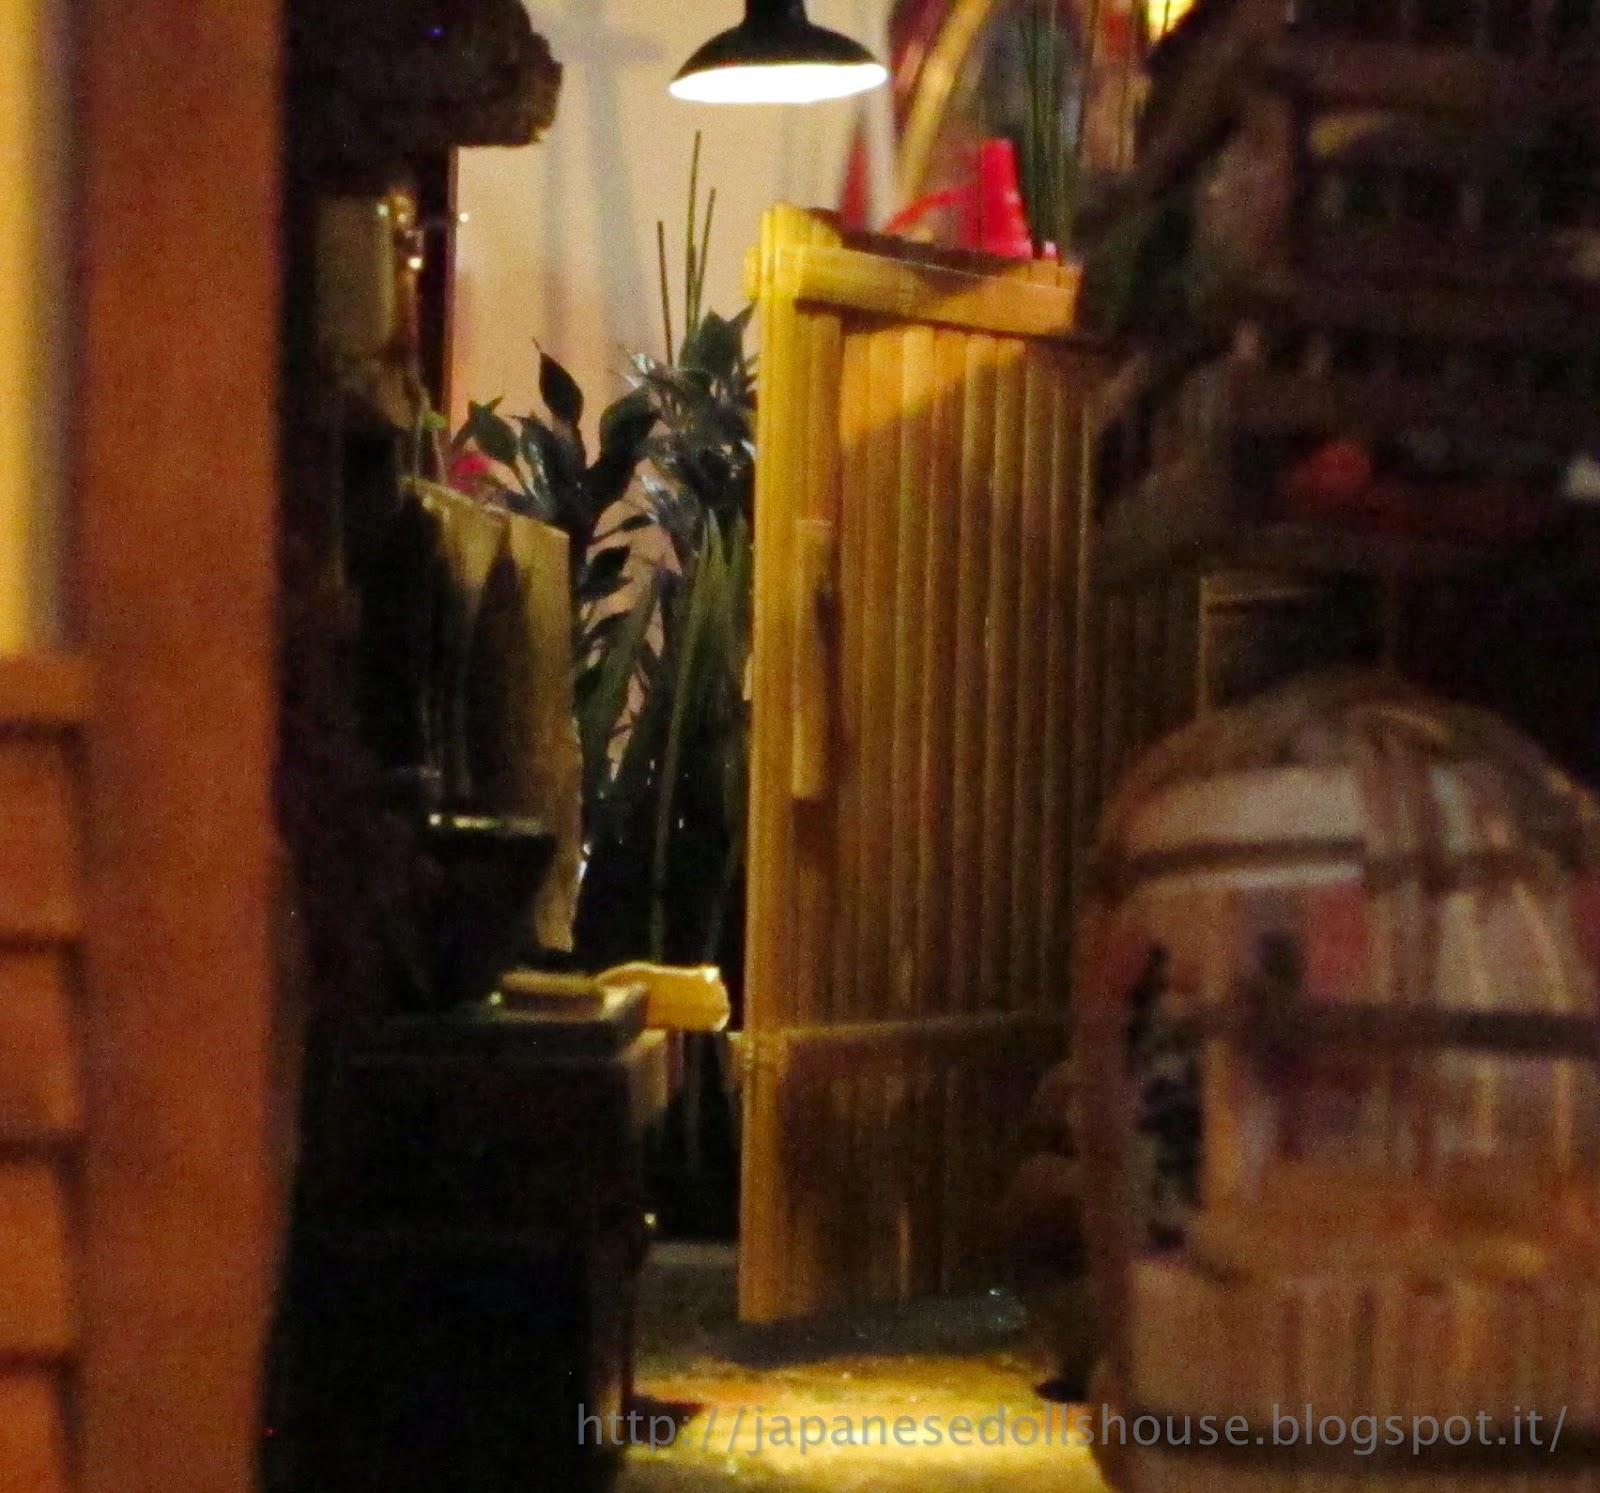
| Through the storage area and out the back gate.... |
Thanks again for your continued feedback and for following me.