
March 12th - 26th 2013
The adding of the awnings has pretty much been documented previously. It’s just a matter of making up the little shingles and slowly taking the tape off the back and sticking them on. As simple as it seems, it’s very time consuming and boring. Obviously you have to ramdomize the placement a bit. I realised tho that at the end of the whole installment, I had made very few ultra-dark colored shingles so I had to just touch up some of the shingles with some darker brown to make the awnings match the other side. Another change I made was that this time, I cut to size the smaller underside beams so that I wouldn’t have to go crazy afterwards trying to install the larger corner beams on the underside. This way, I just installed the smaller beams, stained, put on the shingles, installed the awnings, tested the fit for the larger corner beams then stained those and painted the tips white and installed those. They glued in perfectly. DONE! (almost as annoying as making the tatami mats....)
 |
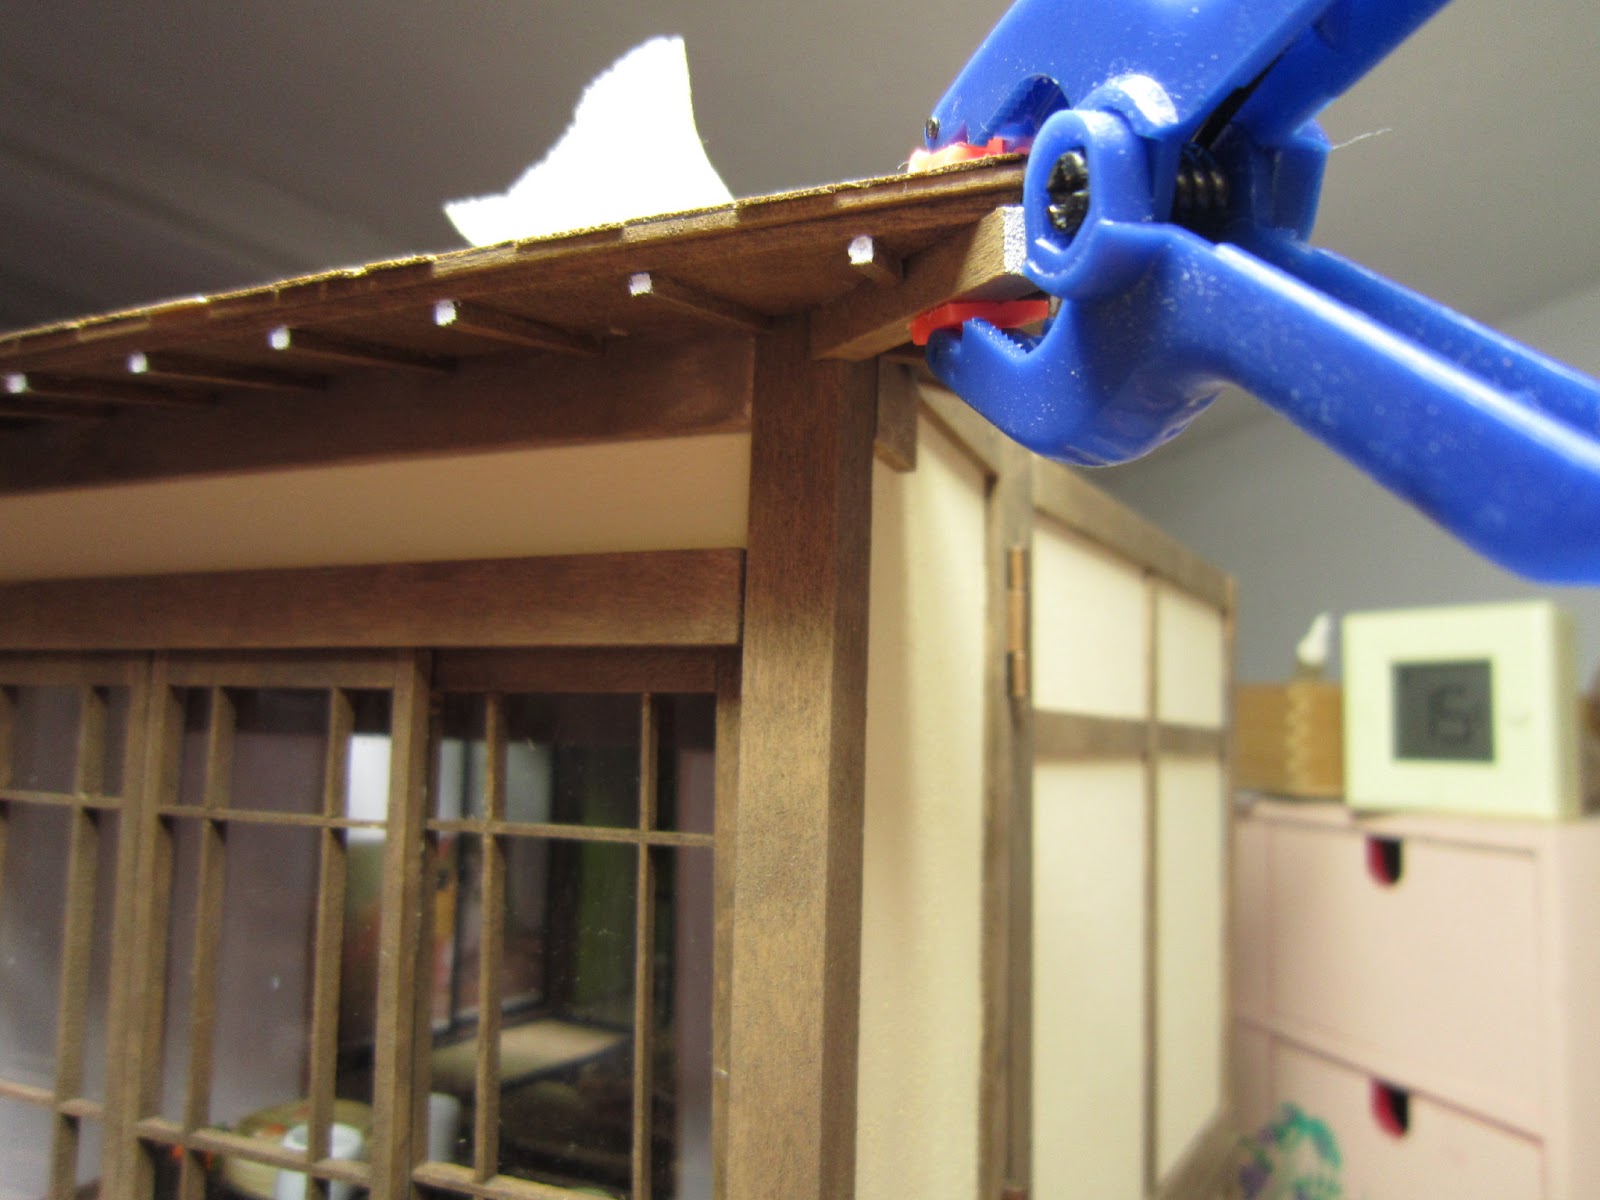
| Positioning the awnings and sanding to make sure they match up. |
 |
| Glueing the small underside beams. |
 | |
| Preparing the underneath beams for later installment of the larger corner beams. |
 |
| Adding the shingles one by one. |
 |
| After staining, painting the end tips white. |
 |
| Adding the corner beams. Easier once the smaller ones have been cut to accommodate. |
 |
| Awning glued in place with corner covers as well. |
 |
| Finished awnings after adding a few darker shingles by touching up with dark brown paint. |
Of course in my internet travels I always come across interesting little details that I can add to the house. Some months ago, I came across a picture of eggs wrapped in straw. When finally I ordered some eggs, I wanted to make this little wrapping but of course couldn’t relocate the picture. After digging around for over an hour on the net, I came across it. It’s from a book about Japanese packaging. Even if the book is entitled “How to....” there is virtually no explaination on how to wrap these eggs. And of course, as I am discovering, I couldn’t find anything upon searching (using every term from macramé to wrapping). It seems trying to find "how to's" for any Japnese minis is nearly impossible. I did find the pic tho and figured, “I’m clever...I can do this.” Ah....arrogance.
After two days of screwing around with these friggin eggs, I had to resort to glueing them in place then working the “straw” (in this case raffia) around the eggs. Yes, I know. The eggs are the wrong scale (1/12) but I don’t care. I still like the final effect.
 |
| Inspiration for egg wrapping. |
 |
| Started by bunching up some raffia.... |
 |
| ...then adding the eggs. I had to glue them in place. I used a piece of acetate underneath so I could easily remove the egg bunch once the glue dried. |
 |
| Finished wrapped eggs. |
 |
| Hanging in the kitchen. They look like ostrich eggs ! |
And now, I can move on to a few new things. I want to install the stairs next before actually making more bamboo blinds for this side of the house. And I have been stressing about actually getting the house mounted onto its base. I think another trip to Ikea for some kind of table/desk on wheels is in order ?
Thanks to a blogger Kotoshin for sending this link! copy and paste to check it ou - Korean style wrapping - really nice: https://www.shutterstock.com/ko/search/korean+traditional+egg+packaging
ReplyDelete