September 19th - 23rd 2013
The back wall was not complicated but as usual it was a bit warped. So, after painting the back and inside walls, I had to join them together using a clamp. I decided to also attach the back wall to the pavement section at the same time. It would have worked out great except that I have been suffering from allergies of late and right when I had balanced the attachments, I sneezed. The floor went flying hit the ground and broke. Luckily it broke right at the small pavement area on the right side but glueing it back things didn’t meet up as nicely as they did before. Oh well, things happen. I left the whole setup overnite to be sure the glue fixed.
 |
| Clamping everthing down for overnite dyring. |
The next step was the overhang above the sliding doors. I've
done this already twice before so I am not going to go thru the explaination again. Suffice to say that even this piece was a little warped but ended up fitting fine over the doorway.
 |
| Finished overhang. |
This chapter had us going back to chapter one and pulling out the front door vestibule. I realized that for some reason, the outside wall was white (WTF) and when I went back to the first chapters where I had painted this, obviously I wasn’t paying attention. It was supposed to be beige. So, I had to repaint it. The inside isn’t painted either but at this point, I’ll decide what I want to do there. I was playing with the idea of adding a small light to the front door. So I can wait to paint that anyway.
The kit came with plasticine that is supposed to be used to attach the roof over the front porch. It doesn’t make sense to me but it seems to hold the roof on well enough. I just flattened out a bit of plasticine and attached it to the support beams then pressed the roof on top. I checked to be sure that the roof fit into place and it did (miracle!) without having to cut or make further adjustments. So now I’m going to leave it for a few days just to see if it dries out somewhat and creates a bond. I doubt it. But if it does dry out, it offers me a flat surface to glue the roof on more permanently.
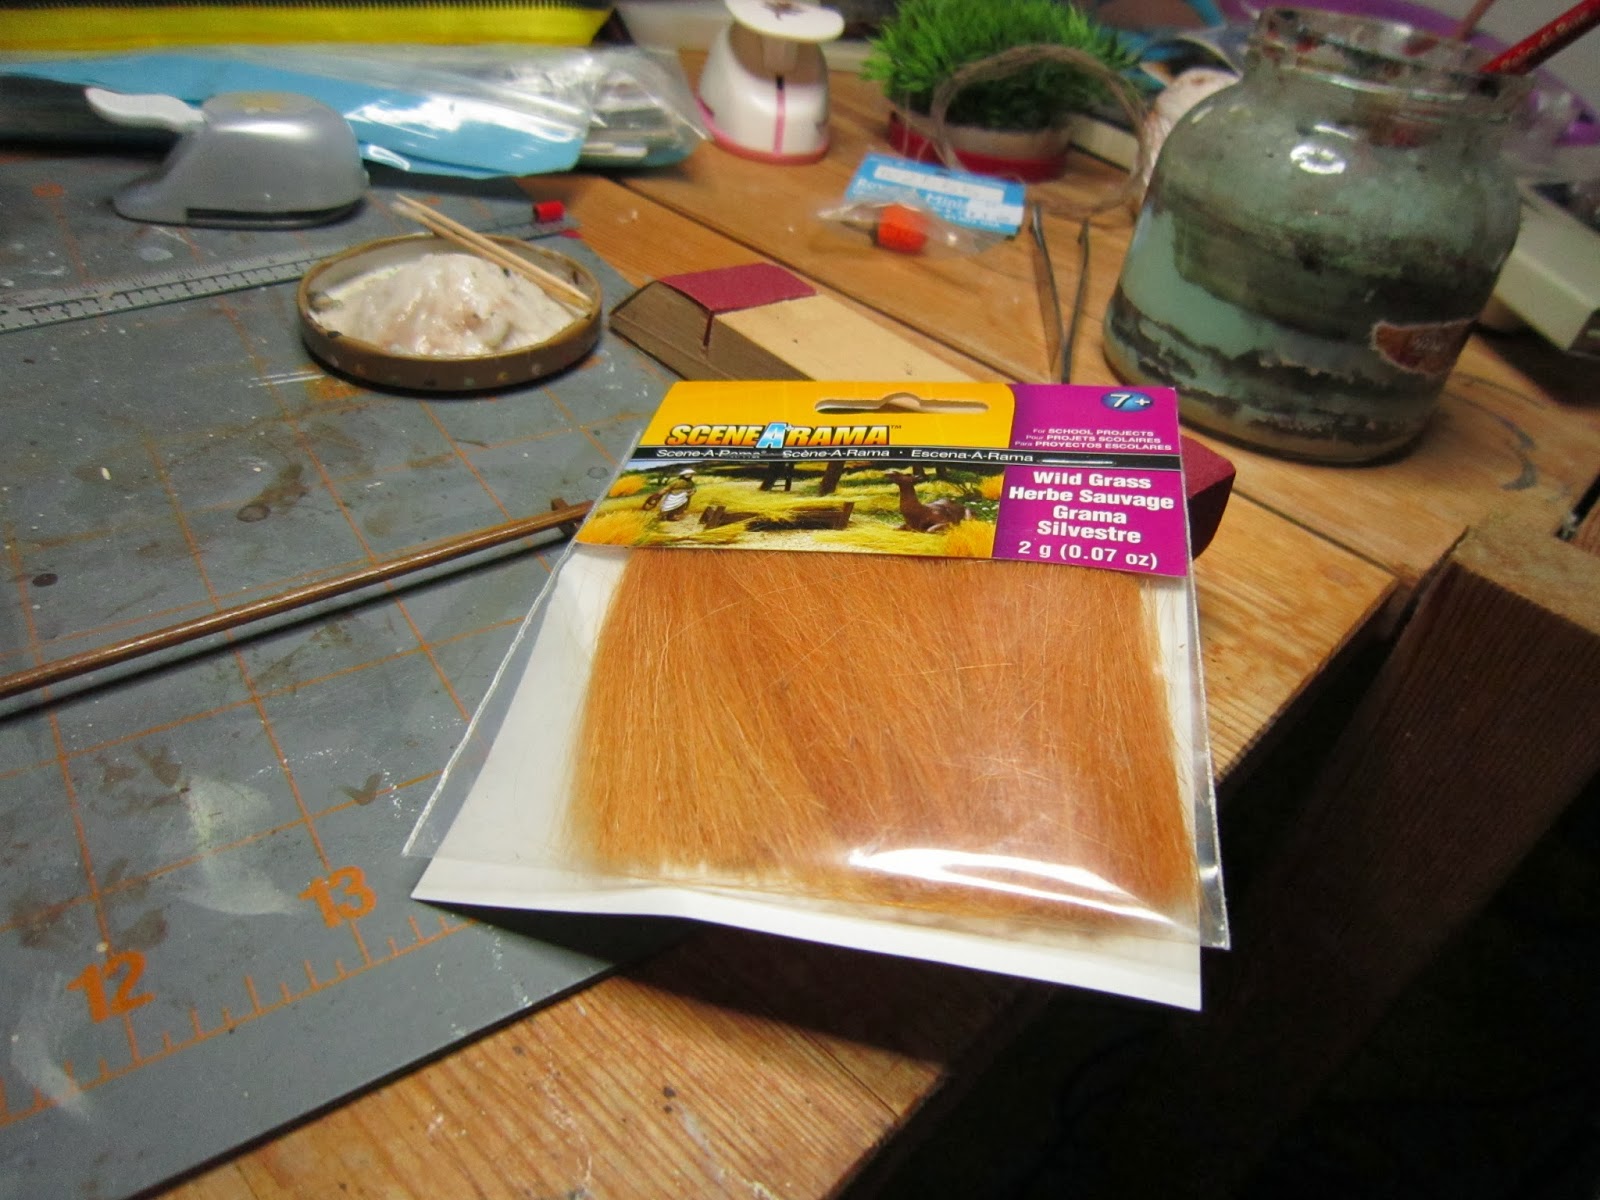
I also decided to repaint the stone pavement in front with a little green and overgrown grass. I found some hay like grass materials at a hobby shop (yes, while in America I went nuts at the hobby shops) and cut them to resemble some grass growing up by the front porch posts. I will probably add more later.
 |
| Test fitting the vestabule roof onto the front of the house. |
 |
| Repainting the stone landing a bit. |
 |
| Artificial hay or grass - this will be used around the edges of the house. |
 |
| Some artificial grass in place. |
 |
| Front door installed. It removes by opening the bottom room doors. Not very pratical. |
The next few chapters had me working on some furnishings and such and then on to the next room but I really didn’t want to go into that yet. I was more interested in attaching the landing to the right hand room so I could build the bathroom. Well, more like a place to wash your hands and urinate. It’s hardly what I would imagine a bathroom would be for women. And there is no other bathroom in the kit. Whatever. I guess the ryokan of the sixties wasn’t for women clientele. But you’ll see in the next chapter.


No comments:
Post a Comment