Saturday, August 25, 2012

Chapter 52 - The Walls and Floor of the Right First Floor Porch, the Shōji

August 22nd - 25th 2012

Staining and painting again.
Painting internal(white) and external walls. I use the sponge to give a stippled effect.

Staining wooden embellishments


Using an exacto knife to cut into the wood enhances the "juncture" sections on the floor
The pavement section was the same as the other one already made before but this time I decided to do a test run on the varnishing of the floor.  Once I get up to the last room, I want a super glossy floorboard finish so I figured I’d try it out on this floor to see if I could achieve a high gloss.  I needed to first paint the floor, sand it, gloss it, sand it, etc.  I figured I’m going to have to buy floor wax to make it really shine but sanding in between glossing did help to smooth out the overall look of the floor.
Painting shades of wood to give the floor some interest.
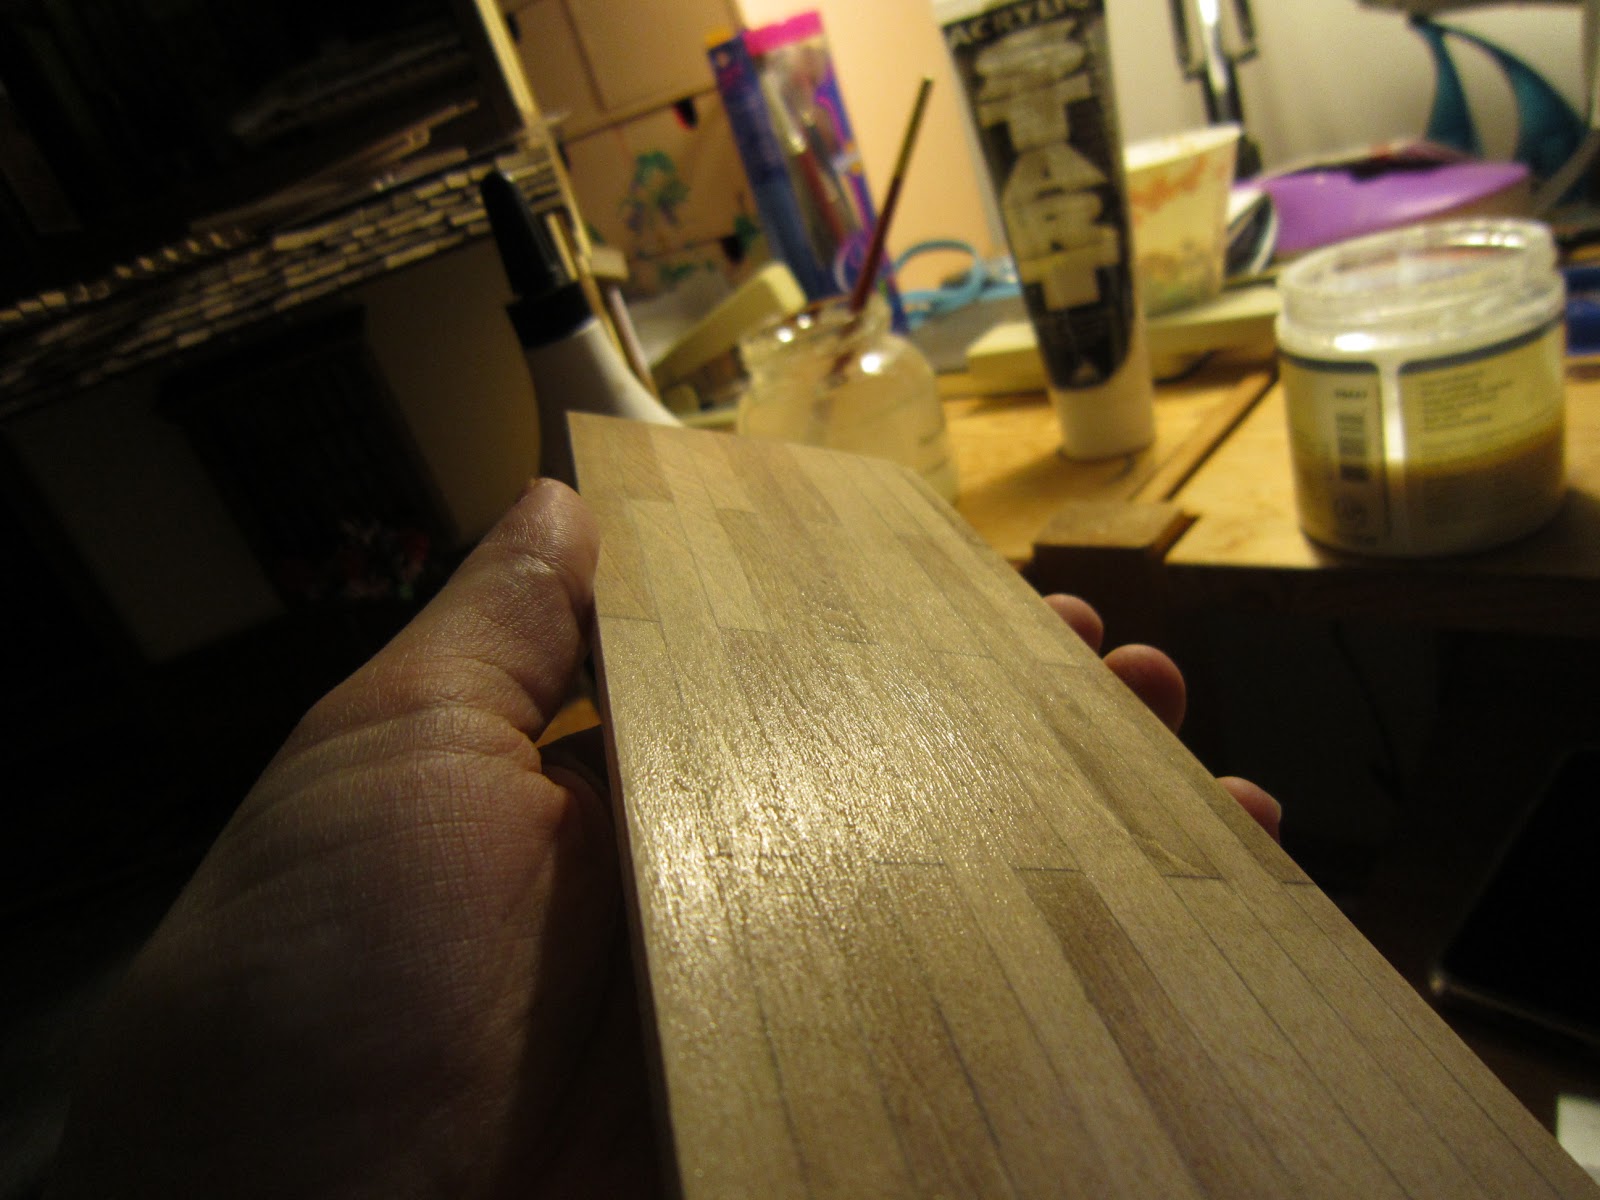
Nice shine to the varnished "hardwood" floor.


Building the porch went easy enough - some clamping to be sure the woodglue would keep the outer walls held tight.  The rest of the pieces slid in with little difficulty and the porch section is done.  Just the windows and railings need to be added.
Wooden embellishments being added.

Porch section temporarily placed.


Cutting away sections for the small internal window
The last part of this chapter was putting together the shōji windows.  The kit comes with all the necessary pieces but there were some changes to the inside woodwork to give these shōjis a window within a window.  I think it’s quite nice and the final effect will be more interesting so we can actually see into the bamboo bedroom.  The only pain in the butt was having to cut the rice paper to fit the little window.  The first one came out with a few tears (oh well) but for the second one I used the first as a template.  That way the first cut would be clean.  The final effect is acceptable even if there are some small tears on the corners.

Back side of door - you can see the torn corners :-(
Right side of door.  No defect is seen.  Small plastic pieces are placed to simulate glass.


No comments:

Post a Comment