Wednesday, September 5, 2012

Chapter 55 - Railings to Right Side Porch First Floor, The Comfy Chair

September 3rd - 5th 2012

Started off with the Comfy chair since it was a new object to make and I had been thinking of how to change it a little.  I wanted it to have some upholstered look buttons on it but not on the seat.  I had drilled some holes hoping to be able to force the material thru it and simulate buttons (which I’d glue on).  So, after cutting and trying to get the material to stick (using adhesive tape and glue) I realised that this wasn’t going to work so well because the structure of the chair is all wood (even the seat and back) and just was too rigid to give a sort of soft comfy look.  The only thing to do was to put a little bit of stuffing into the backrest to take away from the wooden stiffness.  I had a pretty tough time getting the fabric to fold around the rounded edges.  But it eventually went in as best as I could manage.  I painted the legs with a little gold to simulate metal capped peg legs and added also a coffee ring on one of the arms.  I then used some old green eyeshadow to make the chair look used and “sat in” - just shading the seat, back and where someone’s head might lean. Not too shabby looking but looks used none-the-less.
The seat cushion is a piece of wood! Ouch!

Once covered, it looks like a cushion.

Some extra glue around the seat and back to keep the fabric attached.

Attaching the back to the seat. I had to hand drill open the holes a bit to allow the legs to fit.

Finished chair, coffee ring but too clean...

...some old eyeshadow in the right shade...

...did the trick.  Bit filthy.

The railings were pretty fast and easy since been there, done that.  I had to sand down some areas for the curve on the end of the railings.  Then just painted and varnished them up.  Ready to go !
Putting the railings together

Final pieces sanded with slight curve

Right hand porch nearly completed.

Sunday, September 2, 2012

Chapter 54 - The Sills and Sliding Windows to Right Side Porch, A Table


September 2nd 2012

This installment went pretty quickly again because I had already done this assembly once before. 

Made two more sliding windows using the same method as the last chapter.  Then I added the sills which fit fairly well together.  Just a matter of penciling in the tile lines, varnishing with diluted varnish (so not shiney) and adding the underside beams.  Again, I am deciding whether or not to paint the ends of these beams with a little white or something to have them stand out.  Overall, I’m undecided to finish the exterior in a rustic manner or in a well cared for manner.  The inn is really not low class but I figure maybe middle class so I could add some worn out paint on the outside beams.  I would like to have some exposed brickwork on the sides too - like the cement finish is coming away from the building.  I will also have to decide whether or not pigeons would be causing damage under the eaves of the porch areas - and pooing.  I like the idea of the ryokan being in need of a bit of repairs.
Matching up the pencil lines for the sill tiles

Adding the platform beams - view from the top with the porch on its side

Adding the sills

Adding the small beams under the larger platform beams

You can see the windows in the works.  Little table with glue setting up


There was also a small table in this chapter which I painted a burnt sienna - sort of like 1950’s side tables.  I may even paint the legs black to give it an even more dated look.  Very cute in any case.
Little table, two more sliding windows, porch with the sills finished

Saturday, September 1, 2012

Chapter 53 - Right Hand Room First Floor Ceiling, Sliding Windows to Front Porch, Floor Lamp


August 25th - 1st September 2012

I started straight off with the floor lamp thinking it was going to somewhat easy but I was so wrong!  Tiny little pieces and cutting out smaller pieces to size.  Gluing was a nightmare because the pieces were so tiny.  But I did pull it off in the end.  I also used a few extra pieces to make a little desk lamp which I will probably put in the bamboo room even if there is no light on the inside.  I have it in the foyer for now...it is cute there too.
Very small pieces....

...placement with tweezers then painted and varnished...

...glueing the supports to the paper.
Finished lantern.  Can't even fit a LED inside it's so small.
Extra pieces and paper.  You can see the kanji only when it's lit.


I then attached the sliding windows.  I glued and painted them then when I went to install them, I realised I had attached the upper sill with glue instead of double sided tape!!  It was not supposed to be installed permanently.  I nearly broke the wood trying to pry it off.  I had to touch up the paint on the outside since it got all scraped up during the attempt to pull of the piece.  In the end, I got the windows in (fitting one side by sanding down the previously glued area) and then just fitting the back piece.  I was so relieved I managed to get that piece off !!
Glueing the windows that then had to be stained.

1/4" double sided tape made quick work of attaching the window panes.

Placing the windows - view from inside.

Outside view.  You can see where I damaged the paint job a bit above the windows.


The last part of this chapter was the roof to the bamboo room.  As usual, the ceiling piece was warped and I had to try lots of different methods to remove the bow.  I got most of it out but it was a few days between wetting the wood, clamping it down etc.  Attaching the front wooden piece took some creative clamping too.  Then I just measured off the spaces and glued in the “beams” across the ceiling.  It was only half way because the tokonoma uses up part of the room.
Wetting the board and clamping it over a dowl to dry overnite.

Glueing the front wood section.  I had to clamp a smaller piece of wood to force the bow to glue onto the section. 

Measuring out the pencil line - just deocration.

Glueing on the "beams" that run across the ceiling.

Finished ceiling for the bamboo room.
At this point, I have been checking the upcoming chapters and they have me jumping around a bit.  I’d really like to complete the porch areas and attach them since I am afraid to leave them around unattached in my attic room - I know I’m eventually going to knock them on the floor or something.  So, I will be splitting chapters up into parts since some chapters cover completing parts of the porch and others continue into other sections of the build. We shall see how this kit shapes up in the end.

Saturday, August 25, 2012

Chapter 52 - The Walls and Floor of the Right First Floor Porch, the Shōji

August 22nd - 25th 2012

Staining and painting again.
Painting internal(white) and external walls. I use the sponge to give a stippled effect.

Staining wooden embellishments


Using an exacto knife to cut into the wood enhances the "juncture" sections on the floor
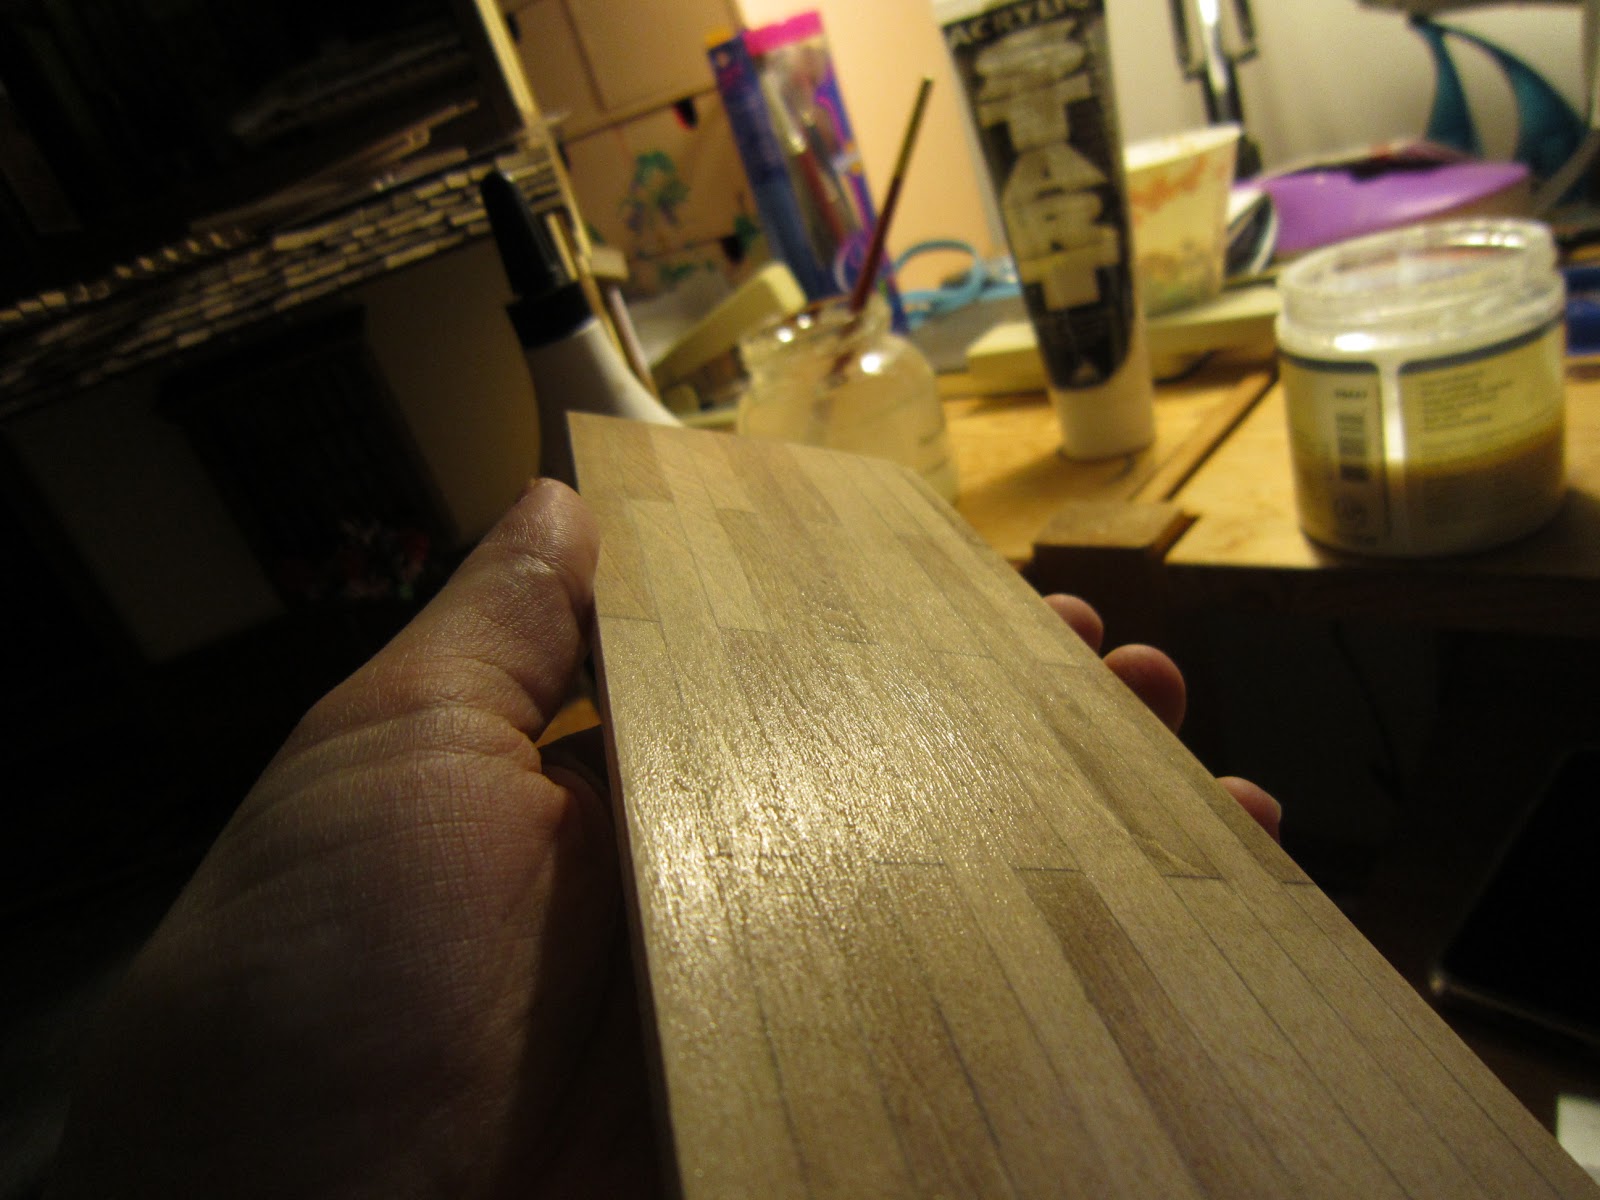
The pavement section was the same as the other one already made before but this time I decided to do a test run on the varnishing of the floor.  Once I get up to the last room, I want a super glossy floorboard finish so I figured I’d try it out on this floor to see if I could achieve a high gloss.  I needed to first paint the floor, sand it, gloss it, sand it, etc.  I figured I’m going to have to buy floor wax to make it really shine but sanding in between glossing did help to smooth out the overall look of the floor.
Painting shades of wood to give the floor some interest.
Nice shine to the varnished "hardwood" floor.


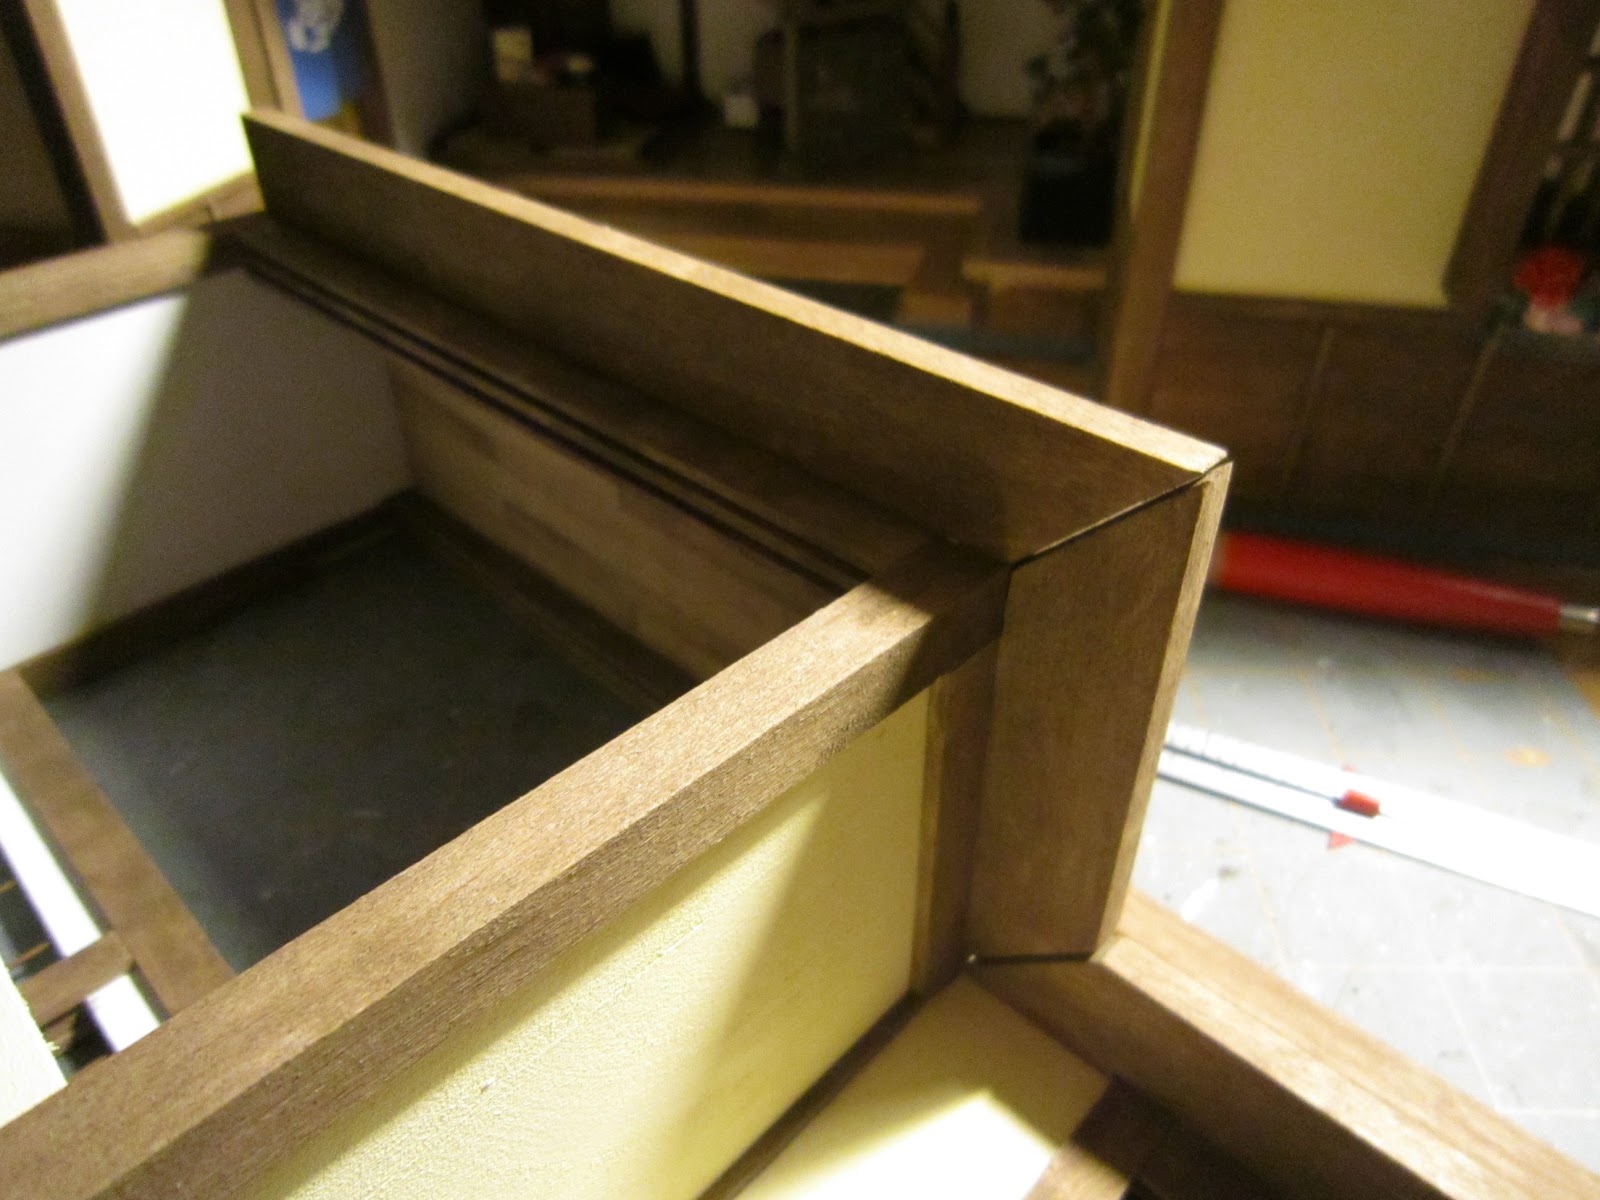
Building the porch went easy enough - some clamping to be sure the woodglue would keep the outer walls held tight.  The rest of the pieces slid in with little difficulty and the porch section is done.  Just the windows and railings need to be added.
Wooden embellishments being added.

Porch section temporarily placed.


Cutting away sections for the small internal window
The last part of this chapter was putting together the shōji windows.  The kit comes with all the necessary pieces but there were some changes to the inside woodwork to give these shōjis a window within a window.  I think it’s quite nice and the final effect will be more interesting so we can actually see into the bamboo bedroom.  The only pain in the butt was having to cut the rice paper to fit the little window.  The first one came out with a few tears (oh well) but for the second one I used the first as a template.  That way the first cut would be clean.  The final effect is acceptable even if there are some small tears on the corners.

Back side of door - you can see the torn corners :-(
Right side of door.  No defect is seen.  Small plastic pieces are placed to simulate glass.


Monday, August 20, 2012

Chapter 51 - Back Wall to Right Porch Area First Floor

August 18 - 20th 2012

After a few months, back attacking the actual build of the house.

The section on the right is identical to the one on the left.  Perhaps for this reason I wasn’t really looking forward to doing it because it becomes somewhat “routine” (like the tatamis) and less fun.  The fun bit of the build is actually figuring out new things and different sections.  Since I cannot really invent something here, it was a bit boring the idea of repeating myself but here I am.

To start as usual, I laid out all the pieces after cleaning them up and sanding them.  Then I had to stain the structural pieces and paint the wall pieces.  I continued with the bamboo room’s green wall theme and split the two panels into two colors.  A little more interesting I think and they would match up with the actual room’s walls.
Staining....

...painting, clamping...

...weaving.


Elastics, clamps and hammers...
The rest of the pieces just had to fit together like a puzzle.  Since I had already done this once before, it was easy to find all the pieces and how they fit but difficult to actually make them fit.  Most of the pieces are a little wide for the slots they have to fit into.  Lots of hammering into place and changing the order of the actual placement because of it.  It was easier to hammer in small pieces than once they were put together on the frame.  I think I sanded off quite a bit as well.  There was really no other solution since I had to be sure the sliding windows would match up later when they get installed (as well as the two porch sides meeting up more or less in the middle once closed).
Sanding to fit the slots


Did complete tho in the space of a few days (also because it was so hot, I really didn’t fee like working much on the house during the day - just in the evening).

Thursday, August 16, 2012

Intermediate Work : Additions to the Buddhist Shrine in the Bamboo Room


Toothpick and text. Wood held by clamps in the background for bending.
August 13 - 16th 2012

Been on vacation but not much motivation yet to attack the build.  So...adding in a few things in the house. 

I decided the shrine needed an incense burner and maybe a little scroll.  I managed to find some pics of the Heart Sutra and made one into a scroll and another into a book form.  I managed to print them out on calligraphy paper without tearing so I can now make some wall hangings too.  Just a toothpic and some ribbon and the scroll was pretty much done.

Incense is used during prayer time in front of the Gohonzon (or mandala or whatever a person uses in their shrine) to purify the air.  It was the last element that needed to be added to my shrine which includes a living plant, fruit, water bowl and a bell which is chimed during the prayer ceremony.  I used leftover wood, soaked and bent it into shape then added the incense stick and painted it.  Lots of people like to “pile up” their burnt incense on the holder to show how much they have been praying (or for some other reason I don’t know) so I simulated that using some glue and some sand. 
Small leftover pieces to make the burner.

Ribbon to close the scroll and sand to simulate burned incense.


I plan on making another small Buddhist shrine in another room but one that would have a statue instead of a scroll.  There are lots of schools of thought and manner of worship in Buddhism (probably more than there are forms of Christian worship) but I still prefer that my Ryokan favors Buddhist sects than Shinto.  If you are interested in finding out more, click on the hyperlinks.