Next step was adding some shelving to the inside of the fence. I used again some scrap wood and glued two shelves in between the pergola beams. I used the leftover scrap from the sawed off cross beam points for the shelf support.
 |
| The shelves fitted on the pergola. |
I then made the framework for the roof of the pergola. I just wanted a grass type roof and found some grass strands at Ikea. Apart from the dried lavender flowers and the perfume, it was pretty good material. I then had to take a few days to bind bunches of the grass with some raffia and clean and position it. It was a total pain but I ended up binding and gluing then adding it to the framework.
 |
| Making the frame for the roof section. |
 |
| The grass stuff I found at Ikea. |
 |
| Binding the grass into bunches. |
 |
| Gluing the bunches in place. I trimmed them after the glue dried. |
I completed the fencing by adding outside supports to cover the string and gluing them in place. Next was the addition of two end posts then gluing the fence onto the pergola. The fence itself is pretty crooked as is the cross sections. I couldn’t put them on the inside as it would have caused the fence to bulge out too much. But since the whole outside fence is dirty(I used grey eyeshadow) and plastered with adverts, I was ok with it. I had to add lots of dust and mud like dirt around the fence on the outside area as it's obviously a work area and not to be seen by guests. For the inside dust, I used lint from my dryer (a tip I picked up from another mini maker).
 |
| Adding the two end posts. |
 |
| Attaching the fence to the pergola. |
 |
| Fence now attached. You can see my bird's nest a little. |
 |
| Adverts added and the whole fence brushed and dirtied. |
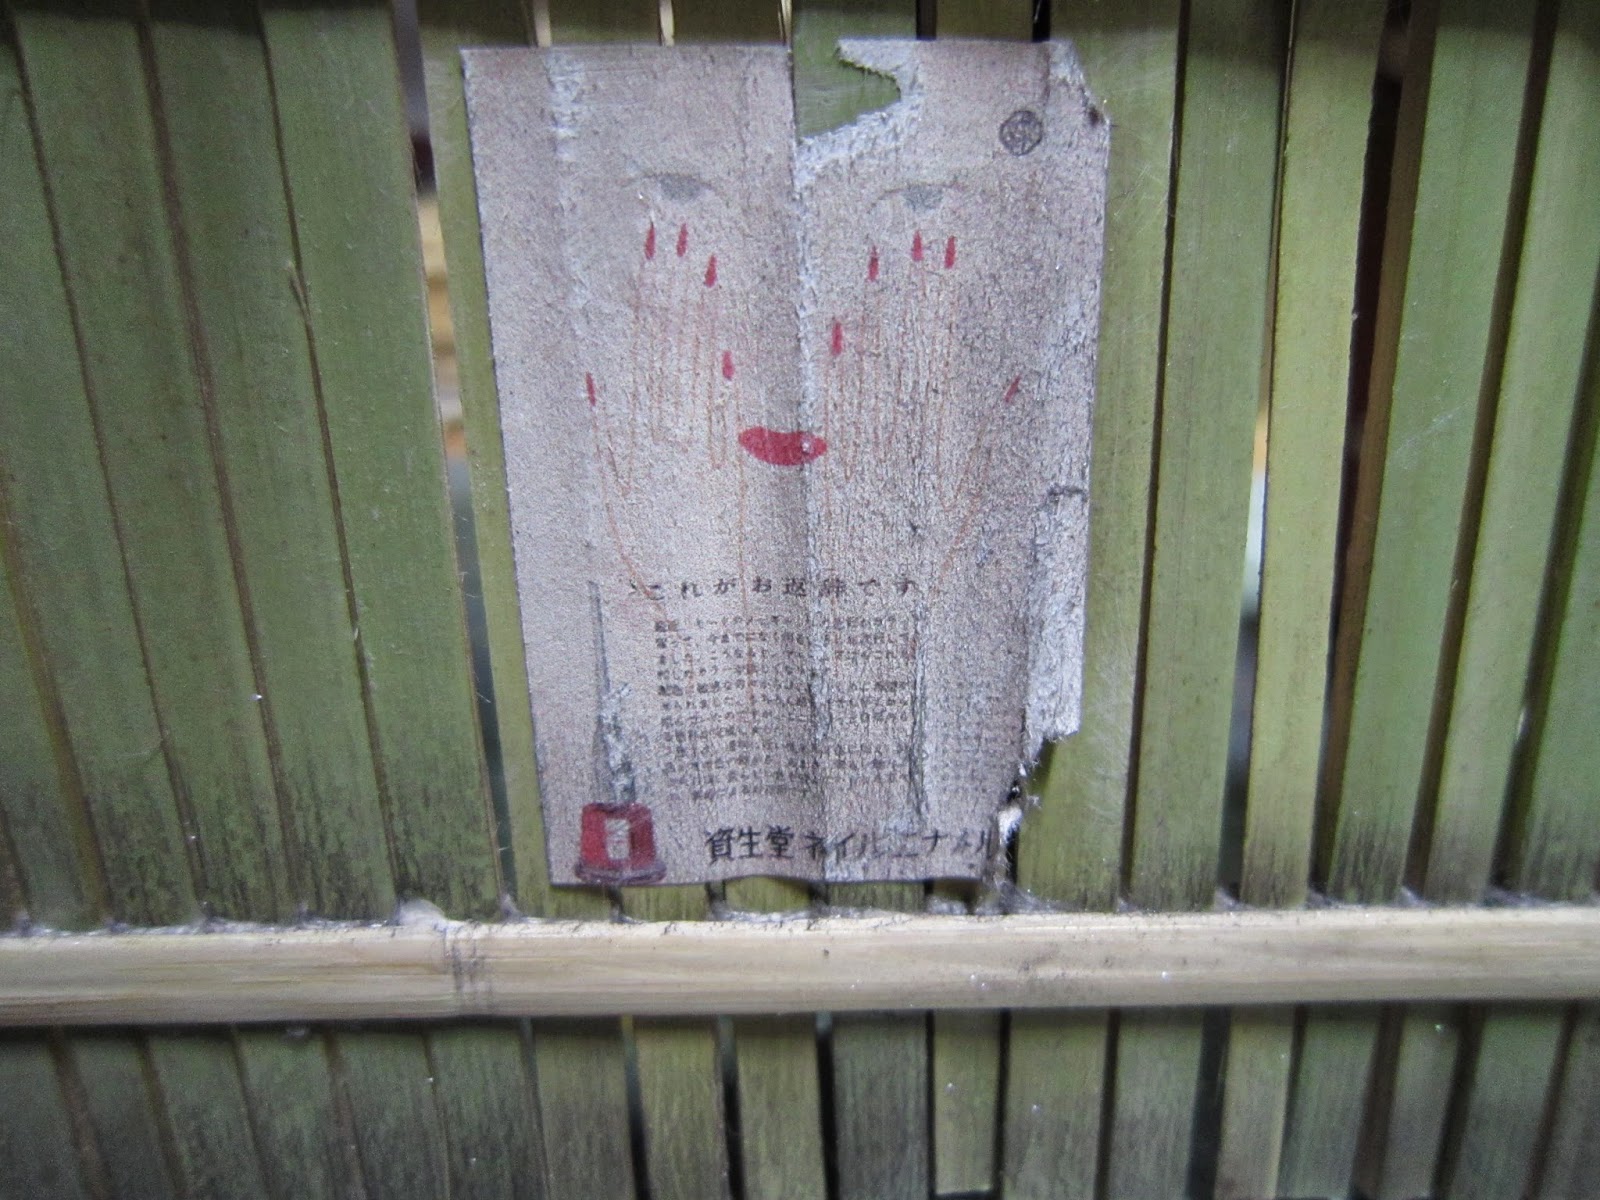 |
| An advert that is old and fraying. But kinda creepy. |
I fashioned the gate and the hitch and added that to the pergola section as well. The back of the house will serve as the trash collecting area so I needed a gate to open to the back of the house.
The bird’s nest was added as planned. I figured with the poo, a bird should be around. I had an icky ugly bird so I repainted him brown and stuck him in the nest then stuck him in place. Poo baby poo.
 |
| Inside the gate. I fashioned a quickie closure using some wire and glue. |
 |
| Outside the gate. Aged and dirtied with the grey eyeshadow. |
 |
| Bird and nest in situ. I added more grass bits under the nest to fill the area out a bit. |
 |
| Grass roof trimmed and attached to its frame. |
The last step was adding objects inside the pergola then setting the roof.
If I find more “stuff” for the outside area, I’ll see if I can fit it in!
 |
| The space ready for filling in with objects. |
 |
| View from above - you can see thru to the kitchen. And the nest. |
 |
| Adding dryer lint for built up dirt and dust. |
 |
| Overview. The left side of the house folds open so I had to keep that area object free. |
 |
| Top view of the grass roof. |
 |
| Outside cabinet kitchen with objects. |
If I find more “stuff” for the outside area, I’ll see if I can fit it in!
 |
| View thru to the gate. On the back right you can see the numerous vases for pickling! |
No comments:
Post a Comment